For many years I avoided starting my own seeds. I told everyone it was because we didn’t have the space in our 1300 square foot house, but really it was because I lacked the confidence to do it right. I tried starting seeds over 20 years ago on the floor below a south facing window and within a matter of two days all the seedlings had shriveled at the base and fallen over like a tree that was chopped down. I now know that my seedlings suffered from damping off, a soil-borne fungal disease that quickly spreads through your seedlings. I could have prevented it by using the proper sterile soil (not soil that had been in a bag on my porch for a year) and making sure my equipment was sterile as well. Even with that knowledge in hand, it was enough to keep me from starting my own seeds for 15 more years. All that time, I worked alongside the experts at Denver Botanic Gardens and learned the basics of seed starting. While I wasn’t starting seeds myself, I was still teaching and inspiring others to do it. I transferred that knowledge to students in after-school garden clubs I ran where we started seeds and to teachers taking professional development classes who then successfully grew seeds in their classrooms. But I still I wasn’t ready to start my own.

It wasn’t until five years ago when I took over the garden coordinator role at a school and successfully grew over 1000 plants that first year. The fear stayed though – I would wake up in the middle of the night having dreamed that all of the seedlings had pitched over like a falling tree. The next year we started our seed starting efforts in early March, only to be interrupted two weeks later by a “three-week extended spring break” due to the Novel Coronavirus. I took a grow light shelf home along with five flats of seedlings expecting to bring them back three weeks later. Well, we all know what happened to the three-week extended spring break! The five flats ballooned into 20 and I ended up growing over 800 plants in my dining room in order to fulfill all of the orders for the school plant sale we had taken back in February. Leveraging on that success, I was able to carve out space in our small house to grow a total of five flats on top of the washing machine, dryer and adjacent windowsill three years ago. Needless to say my fears are gone! I started my fifth season of seed starting last week. I anticipate growing over 900 plants at one school, 150 at a second school and about 60 at home this spring. My excuse is gone, my confidence is solid and I’m here to share the really simple basics of seed starting with you.
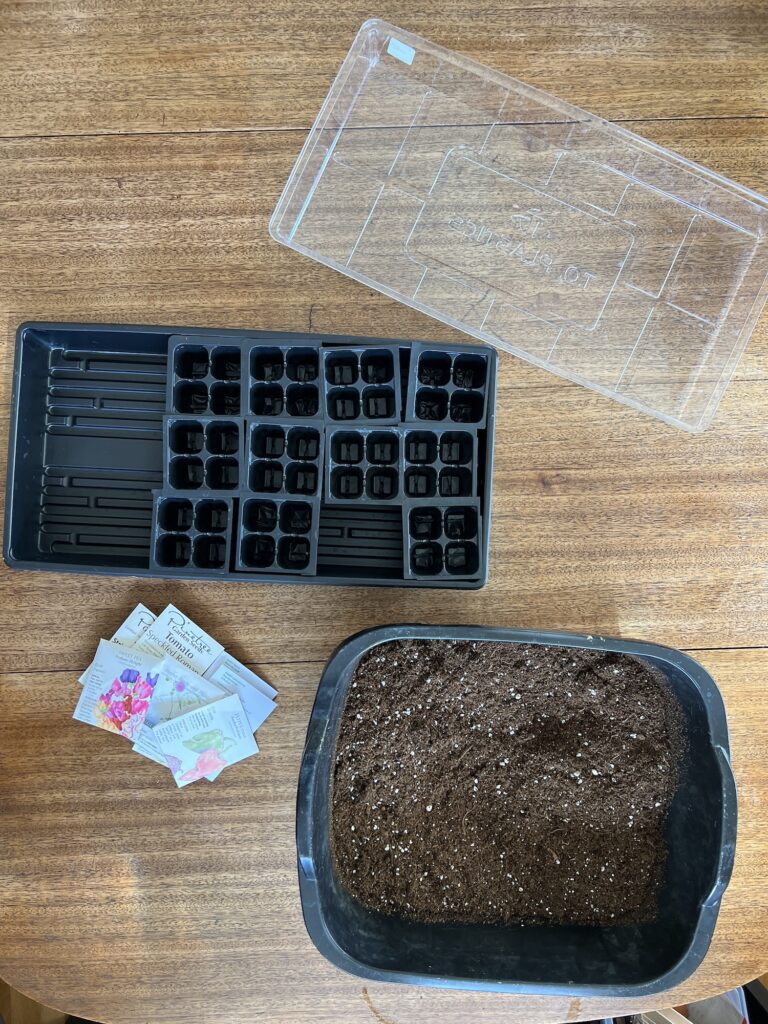
Successful seed starting really comes down to making sure you have the right equipment. You can find a detailed why for each item and some suggested products here. Once you have that, it’s as simple as soil, seed, water and light. So spend some time sourcing a grow light, good seed starting soil, sterile pots and trays, humidity domes and a heat mat. And learn from my mistake 22 years ago, make sure everything is sterile. I reuse pots, trays, and humidity domes year after year, but only after they’ve been scrubbed clean, and they’ve sat in a bleach solution (1 part bleach: 9 parts water) for 10-15 minutes. You can put together a simple seed starting set up for two flats (~60 plants) for about $50. When you compare that cost to purchasing the plants from a nursery at $4-10 a piece, it really is more cost effective.

From the top down, here is how you’ll set up your system:
- Grow light
- Humidity dome
- Pots
- Tray
- Heat mat
Once your equipment is set-up, you’re all set to plant, but it won’t be all at the same time. Different plants need different amounts of time to grow prior to transplant, so you’ll need to pay attention to the seed packet and follow their timing recommendations. You can calculate when to start your seeds by determining your average frost free date and then counting backwards the number of weeks from there. Here is a general breakdown of timing:
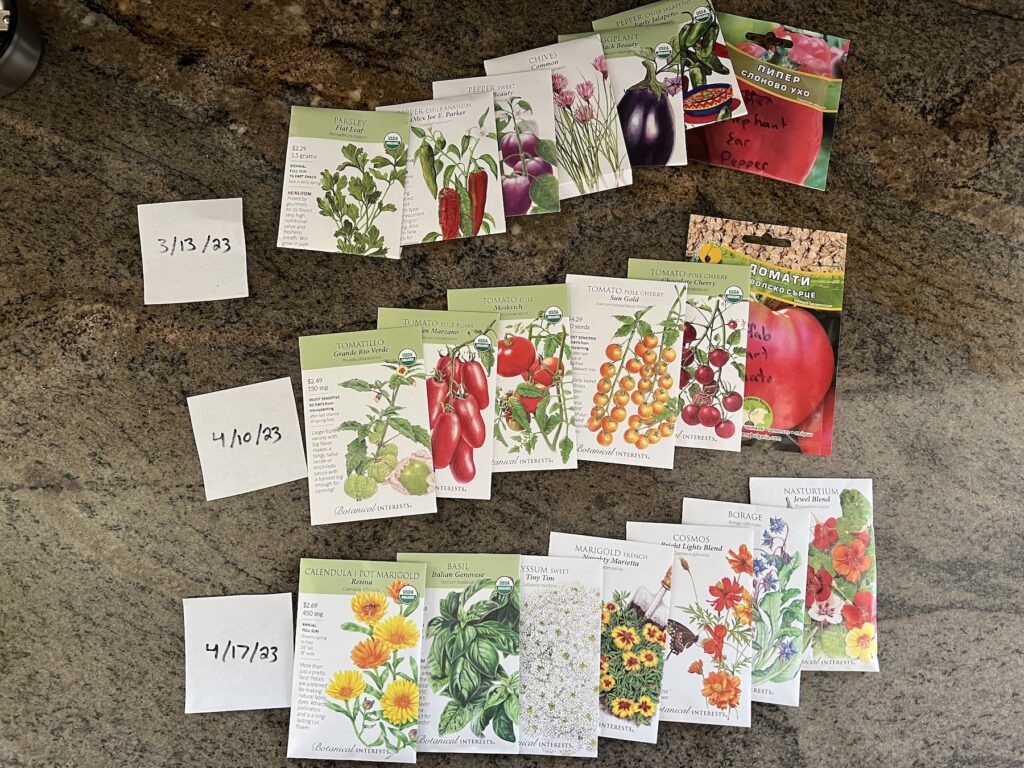
- 10-12 weeks before last frost: eggplant, celery, onion, rosemary, chives, snapdragons, petunia
- 8-10 weeks before last frost: peppers, mint, parsley, coleus, impatiens,
- 6-8 weeks before last frost: tomatoes, basil, calendula
- 4-6 weeks before last frost: kale, collard green, swiss chard, broccoli, cauliflower, basil, marigold, zinnia, cosmo, nasturtium
Also keep in mind that some plants grow best when the seed is directly planted into the garden (called direct sowing). Either they grow so quickly that they don’t need an advance start or they don’t like having their roots disturbed. These include plants like carrot, beet, turnip, radish, cucumber, melon, squash (summer and winter), zucchini, pumpkin, peas, beans, lettuce, spinach, and arugula. Don’t waste your time starting these ahead. Just wait until the soil is the right temperature and plant outside.
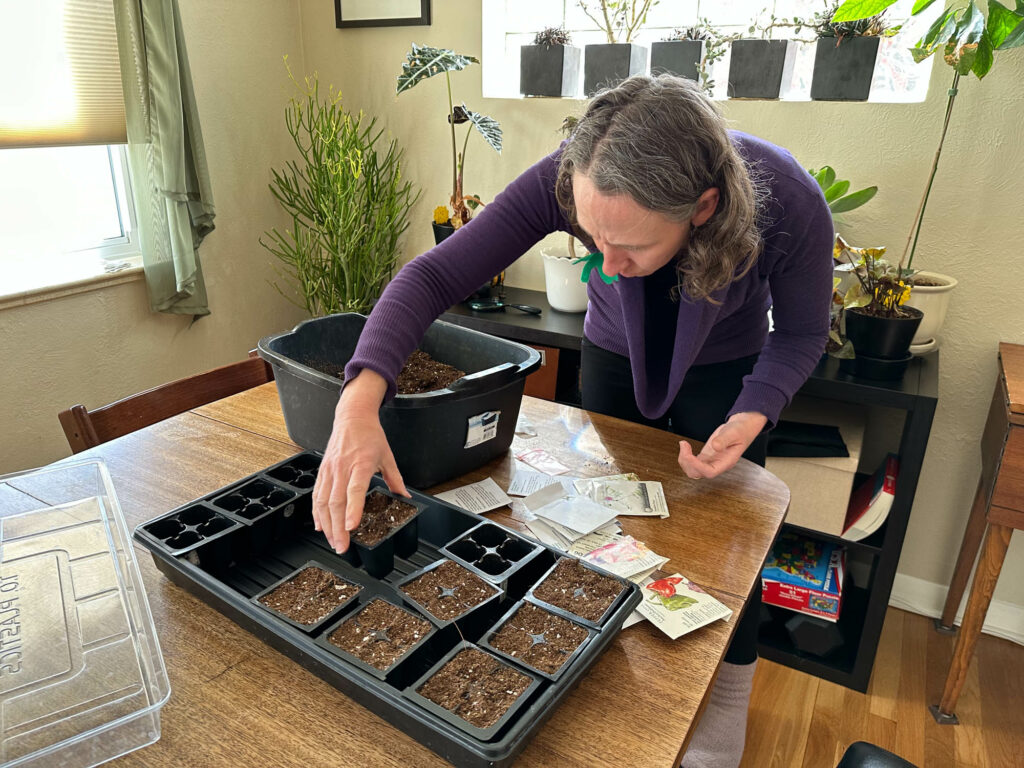
When it’s the appropriate time to plant your seed, follow these simple steps.
Fill the pot with soil. Use your hand to fill the pot and then two or three fingers to push the soil into the pot. The soil gets filled with lots of air space when moved into the pot and then will settle over time leaving just a small amount of soil. Pushing the soil down compresses the soil ahead of time and ensures you have a proper amount of soil. Don’t push so hard though that all of the air space is squeezed out. I like to tell students to push hard, but not superhero hard. Make sure you’re using a sterile soil that is designed for seed starting.

Plant the seeds. For small seeds, place one seed on top of the soil in the center of the pot. For large seeds, make a hole twice as deep as the seed and put the seed in the hole. Sprinkle soil on top of the seeds to cover them up. Small seeds need just ¼” of soil on top. Some seeds like petunia, coleus, snapdragons, and impatiens should not be covered up at all, but left on the surface of the soil.

Place pots in a tray. Place all of your pots in a tray without holes.
Water the tray. Using a watering can, fill your tray approximately halfway with water. The soil will absorb the water through the holes in the bottom of the pot. If you water directly on top of the soil you risk splashing the soil and seeds out of the pot. Plus it takes a lot less time to water one tray than 72 individual plants. Check on the tray after a few hours. If no water remains and the top of the soil is still dry or semi-dry, add more water. If the water is gone and the soil looks saturated at the top, leave as is.

Cover with a humidity dome. Seeds need a consistent moisture level in order to germinate. A humidity dome traps the evaporated water and then rains it back down on the soil. This keeps the seeds and soil a consistent moisture level. It also means you don’t need to water as frequently.
Heat the soil. Many seeds germinate best when the soil temperature is 70-90°. A heat mat placed under the tray will raise the temperature of the soil above the ambient temperature of the room resulting in better and quicker germination. Seeds that like it warm include: tomato, pepper, eggplant, parsley and zinnia.
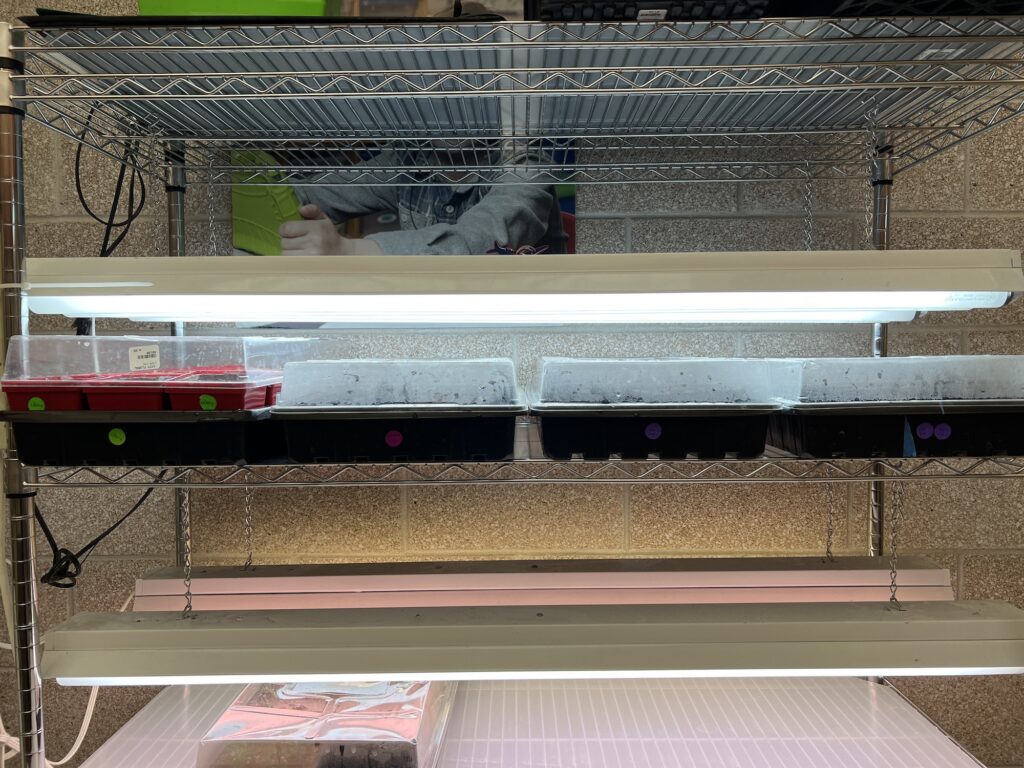
Provide bright direct light. Place your seed trays underneath a grow light that is positioned 3-5” above the top of the soil. Set the grow light on a timer so that you have 14-16 hours of light per day.
Depending on the plant type, your seeds can sprout in as little as 3 days (zinnia and marigold) or it may take 3-4 weeks (eggplant, parsley, pepper, celery).

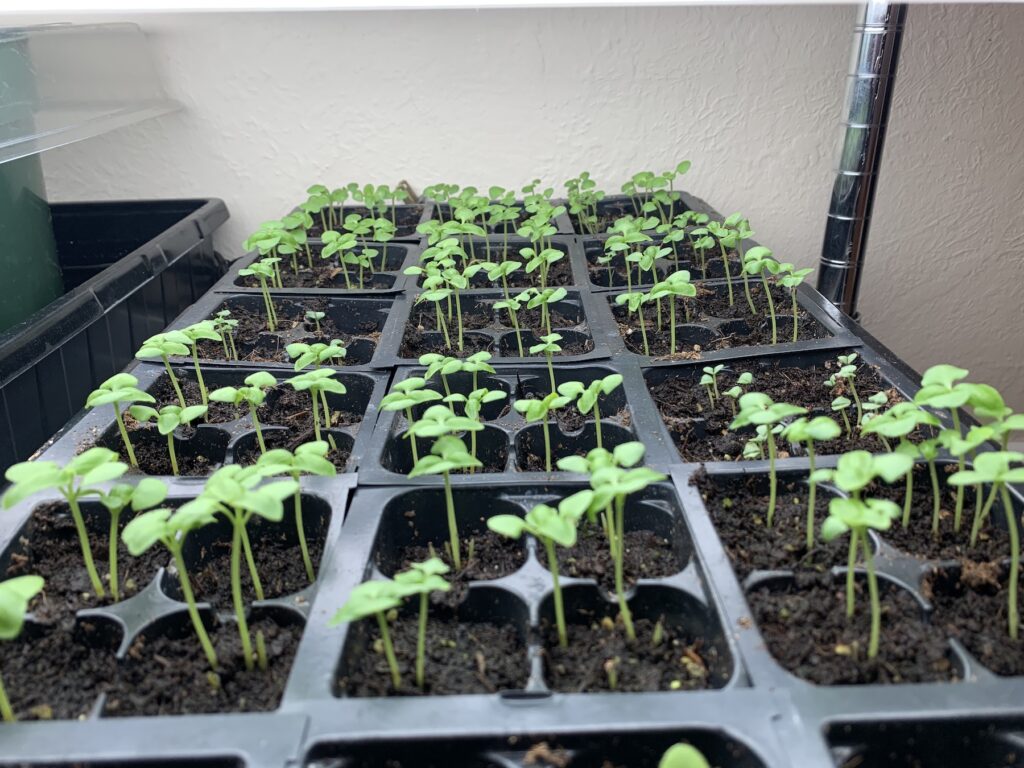
The seeds will sprout and have one or two leaves. These are called cotyledon leaves and served as the plant’s food storage for the initial growth. The next leaves and all subsequent leaves are called true leaves. The true leaves photosynthesize to make food for the plant. Once this sprouting has occurred, continue with the following:
Maintain moisture. Make sure that your soil remains moist (not saturated) until the seeds sprout. With the humidity dome on, you may not need to water at all. If there is no water collecting on the inside of the humidity dome, it is time to place 1/4”-1/2” of water in the bottom of the tray. When you water, the water should be fully absorbed within 1-2 hours. If it doesn’t all get absorbed, dump out the extra water. Once the seeds have sprouted it’s okay to let the surface of the soil dry slightly in between watering. Every few days, you will need to put 1/4”-1/2” of water in the bottom of the tray – enough for it to absorbed within a few hours.
Thin seedlings. Ideally you should have one plant growing per pot. If you ended up with more than one plant, you should remove the additional plants so each plant has enough space and access to water, nutrients and light. When thinning, try not to disturb the root system of the adjacent plant. The best way to accomplish this is to use a pair of small scissors (nail scissors work great) to cut the plant at the soil level. You can also gently pull out the seedling. Some plants like chives and alyssum are planted with multiple seeds per pot and do not need thinning.
Remove the humidity dome. Once the plant has two sets of true leaves, you can begin to wean the plants from the humidity dome. Prop up a corner of the dome and leave it propped open for a few days before you remove the humidity dome entirely.

Adjust the light height. As the plants begin to grow taller you will need to raise the height of the grow light. The light should be 3-5” above the tops of the plants at all times. If the light is too far away, the plants will grow quickly to reach the light and won’t have as strong of stems.
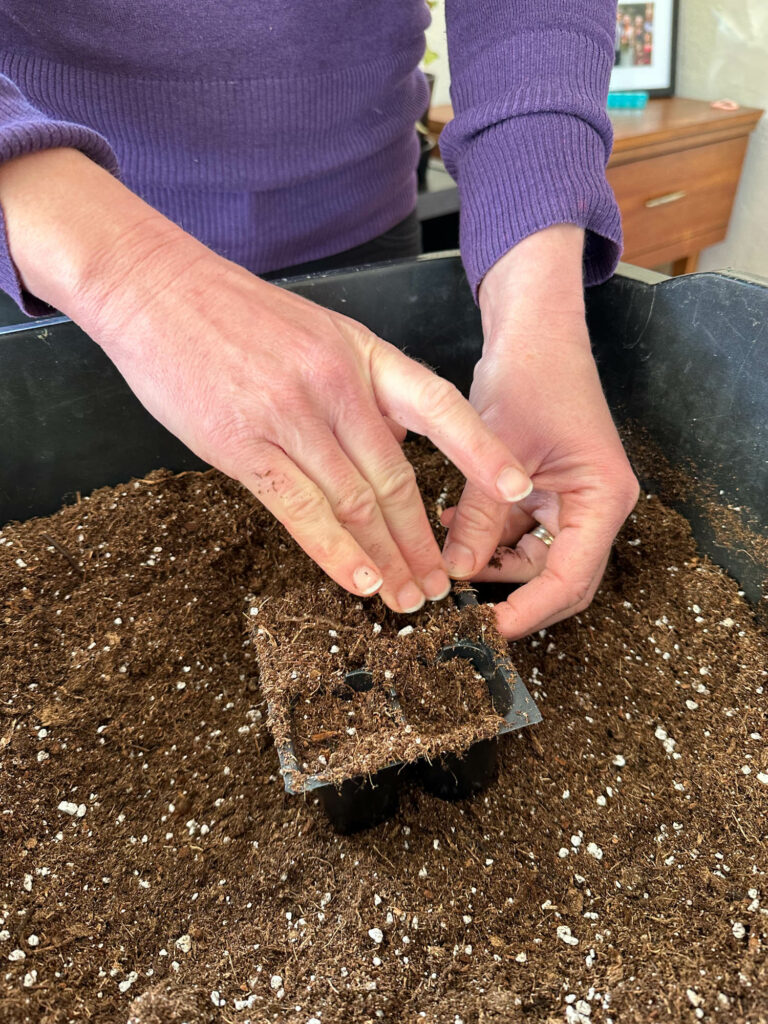
Transplant into larger pots. When the plant has 3-5 sets of true leaves, you can transplant them into a bigger pot. For many plants this act of transplanting disturbs the roots slightly and encourages the plant to grow more fine roots for absorbing water. This is why you start seeds in a small pot and move them to bigger pots. Some plants do not like to be transplanted though and should be started in a bigger pot.
As your seedlings continue to grow, monitor the moisture level and light height on a regular basis. As you get closer to your frost free date, you will need to transition the plants to the outside. This is called hardening off. Plants that go from the consistent warmth of inside to the variable nature of outside are in for a shock and need to slowly adapt to the new environment. Begin by putting your seedlings outside in the shade for a few hours then bringing them back inside. The next day put them in the sun for an hour and then move them into the shade, bringing them back inside after a few hours. Increase the length of time in full sun and the total time outside each day until they’re spending the full day in the sunshine. After 7-10 days you can leave the plants out overnight, as long as your nighttime temperatures are above 50°. If you have a cold day during this period of time, leave the plants inside.
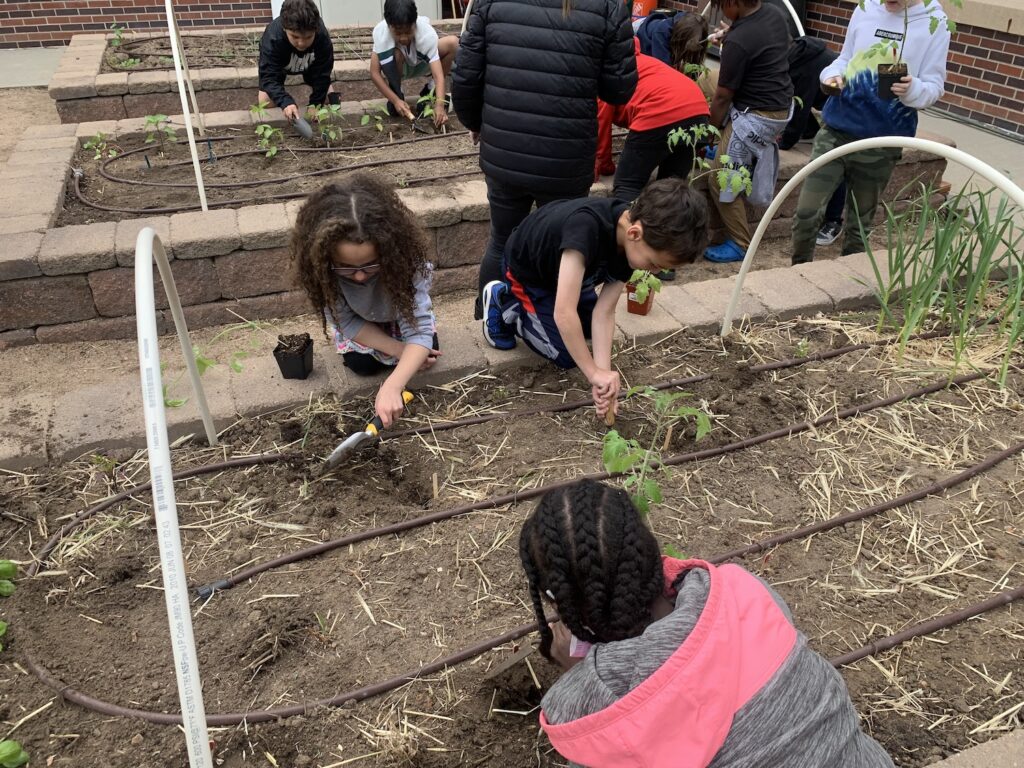
Once your plants are hardened off, you’re past the danger of frost and nighttime temperatures are warm, its time to transplant your plants into the garden. Make a hole the same depth as the pot and twice as wide. Gently remove the plants from the pot, spread the roots apart at the base, place in the hole and backfill with the soil you removed.
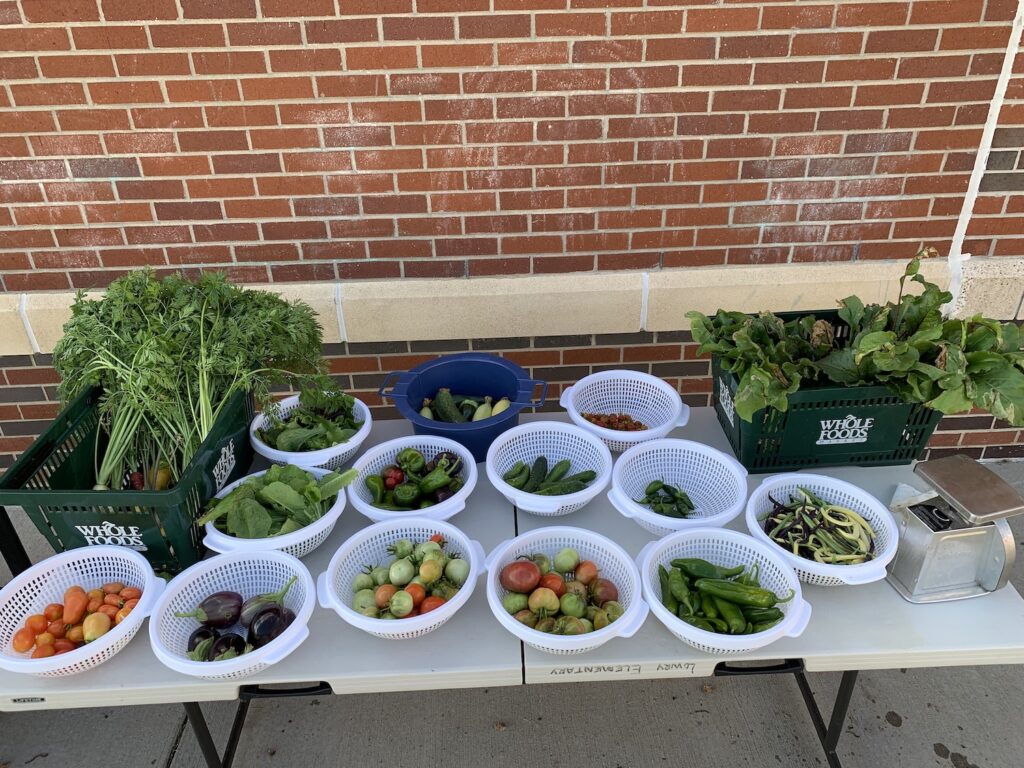
While I know this seems like a lot of steps, it really isn’t that hard. Just make sure you start with clean equipment and provide adequate moisture and light. Soon you’ll be harvesting food for dinner and be filled with pride knowing that you grew this all by yourself!