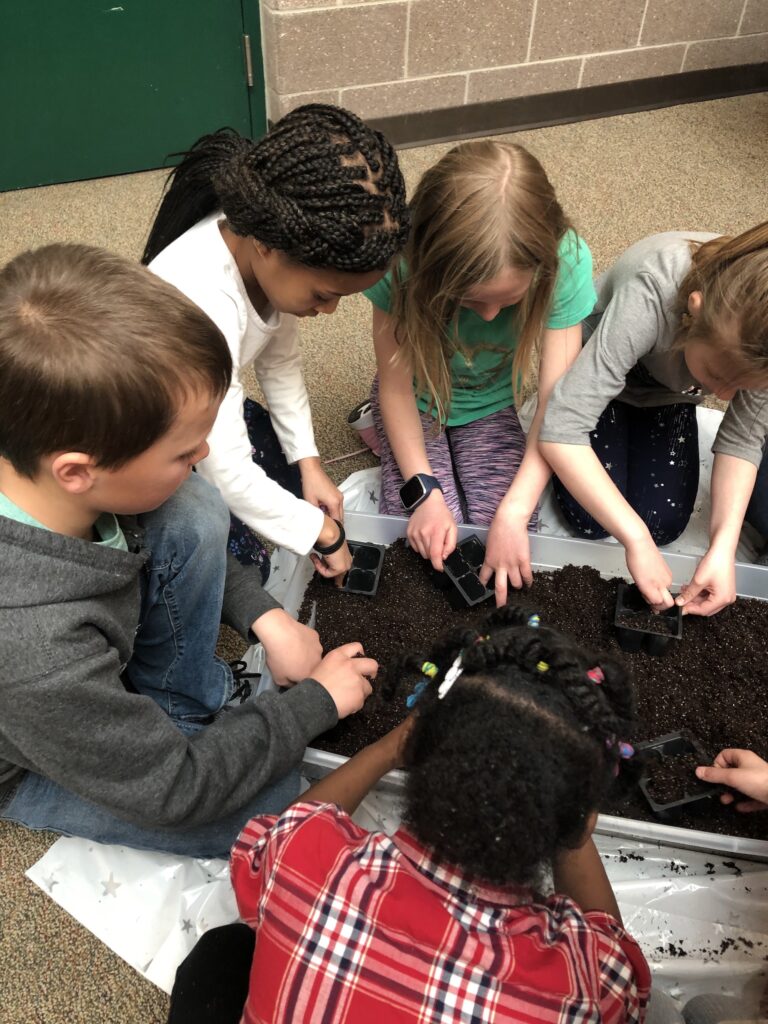
Planting seeds with a group of students looks quite a bit different than when I sit down and plant seeds all by myself. It’s even different from when I plant seeds with my daughters. Having a large group of students changes the dynamic and flow of the activity. As any teacher knows, successful activities in the classroom are made or broke by how you set up the activity and seed starting is no exception. Over the years I’ve developed a set of techniques and strategies that sets the seed planting up for success. Here are the things I recommend for anyone planning to plant seeds with a group of students.
PREP MATERIALS AHEAD OF TIME
This one probably goes without saying, but the more I can have prepped ahead of time the smoother the planting will go. Prior to even starting our seed planting sessions, I do the following set-up.
This post contains affiliate links. If you use these links to buy something I may earn a commission. Thanks.

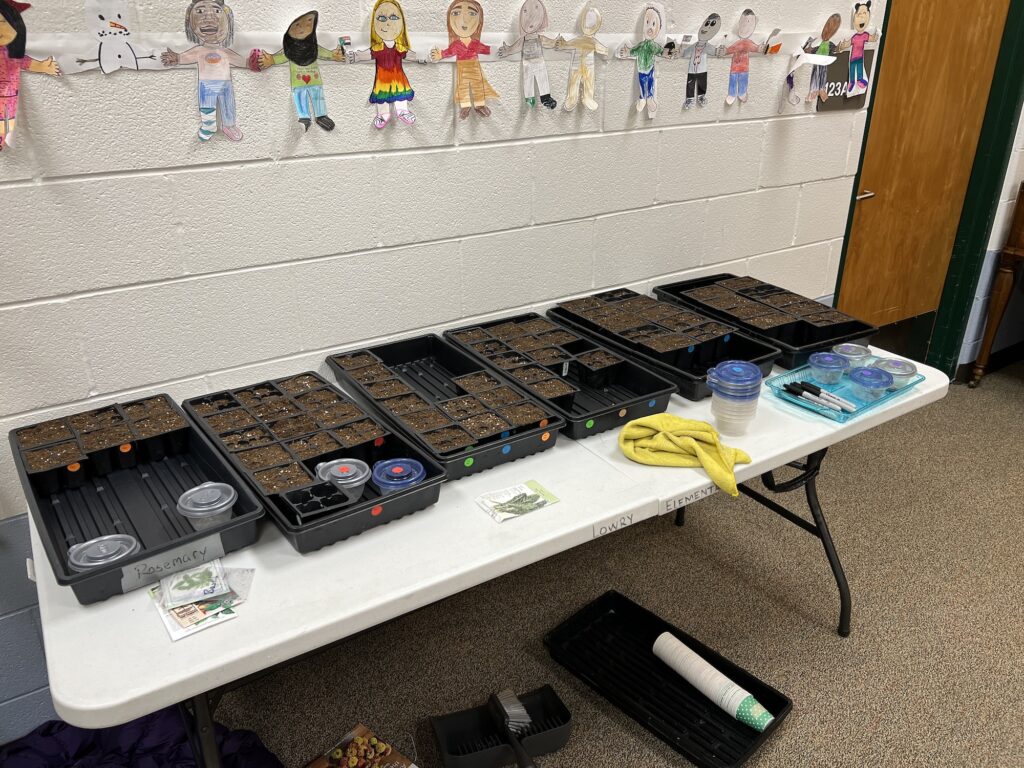
Label pots and trays semi-permanently. Each and every pot we use is labeled with a small dot sticker that has the name of the plant printed on it. These are fairly waterproof and don’t peel off very easily. The dot stickers will come off when soaked in water (i.e. when were cleaning and sterilizing the pots after use) but otherwise stay on really well, even during robust watering sessions. The trays are also labeled with a sticker so it is easy to see what is growing in the tray.

Transfer seeds to containers. I transfer the seeds from the seed packet into half cup storage containers with lids. This allows students to easily help themselves to seeds and minimizes spillage. I typically have one container for every 4-6 students. Each container is labeled with the same sticker as the pots in order to minimize mix-ups.

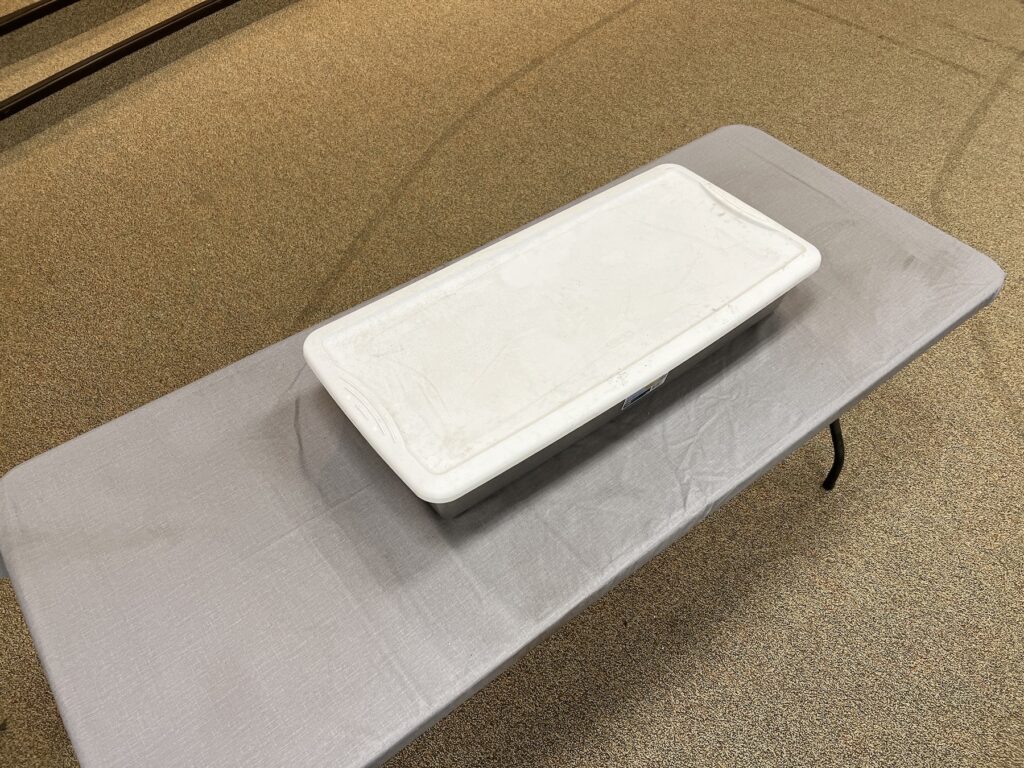
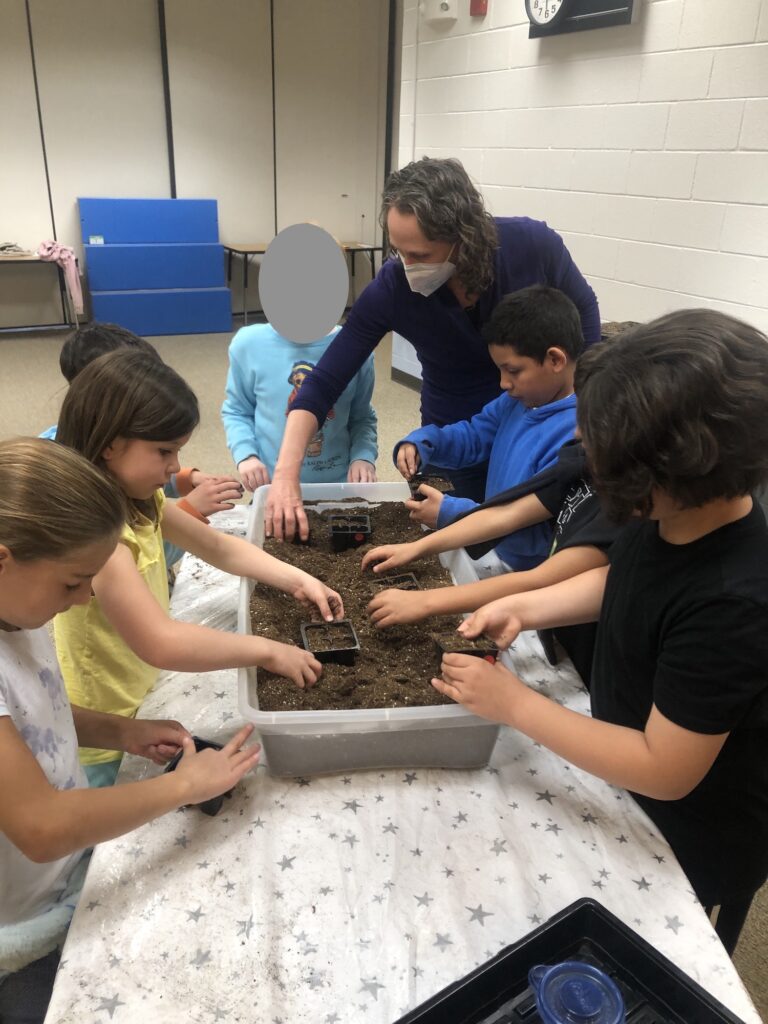
Put soil in a long, short container. I like to use under the bed storage containers to hold the soil. This allows multiple students to easily access the soil at one time. The 41 quart size is a perfect size to allows me to easily handle the tub. With one soil tub in the center of a 6’ table, 6-8 students can gather around the table and have access to the soil. With two of these tubs on a table, 10-12 students can gather around. Depending on the group of students and how complicated our planting is, sometimes I use two tables with one tub on each and sometimes I use one table with both tubs on it.
Put a lid on your soil. Students love putting the hands in the potting soil and moving the soil around. It is a great sensory experience for students, but it means that the soil gets spilled and the students aren’t listening to instructions. I take the lid off only when students are filling pots with soil. For this reason, I like to have a lid that is easy to get off and on.
Cover your table with a light-colored tablecloth. A tablecloth helps make clean-up go smoother. The light color makes it easier to see spilled seeds. I prefer using a heavy-duty vinyl tablecloth as the lighter duty plastic tablecloths get torn by the students fiddling with it. I use bedsheet straps under the table to hold the tablecloth in place. Anything on top or along the edge of the table gets fiddled with by the students.
HAVE A PLANTING ROUTINE

Just as the set-up matters, how I go about planting the seeds ensures that the seeds are planted correctly.
Control your group size. Ideally I like to plant with 8-10 students at a time, although I can manage with 12-14 students. When it goes above this number, I can’t easily keep my eyes on all students to ensure that they are correctly planting their seeds. If this is your first time planting with a group, I would start small with 4-6 students at a time.

Have an additional activity. I typically work with one classroom of students at a time. Half plant with me while the other half is doing an independent activity. This independent activity keeps them engaged exploring seeds and planting while I am planting. If I am working in just one classroom, the class can be doing normal classroom work independently while I call up small groups.
Talk about the holes in the bottom of the pot. I always start planting by showing students the pot and asking them what they notice. The holes always come up. I explain the holes by asking what would happen if their head got stuck underneath the water – they couldn’t breathe and they would die (drown). Then I explain that plant roots are the same way and if they get stuck under the water for a long time, the plant can’t breathe and it will die. The soil in the pot sucks up water like a sponge, but it can’t hold an endless amount of water. If too much water is added, the extra water comes out the holes so the plant can grow.

“When you’re filling the pot with soil, the pot stays in the soil tub.” I always repeat this several times so students understand. It helps keep the soil contained in the tub, otherwise the soil overflows the pot and ends up all over the table (and the floor, and the students….).
“When you’re putting the seed in the pot, the pot goes on the table.” Once students have filled their pots with soil, the pot goes on the table and the lid goes back on the soil tub. Then I give them a tub full of seeds. This prevents seeds from being spilled into the soil tub. I learned this one the year that someone sprinkled/spilled basil seeds into the soil tub and every plant after that had basil sprouting up next to it. I pulled so many basil sprouts that year!
Minimize putting seeds into holes. Students love to make holes and they are quite often too deep for the seed meaning the seed doesn’t have enough energy to make it to the top of the soil. Only the biggest seeds (squash family and nasturtium) get holes when we plant. The rest of the seeds (¼”- ½” of depth) are placed on top of the soil in the pot and then some soil is pushed over from the side of the pot to cover it up and gently patted down. Seeds that need ½”-1” of depth get a hole made by one finger pushed into the soil that stops when the first knuckle starts going into the soil. We find this knuckle together as a group before we begin.

Demonstrate what to do. Showing students what to do is worth a thousand words. As I work, I have students put their hands behind their back so that they aren’t tempted to start playing in the soil. I start by filling the pot with big handfuls of soil and pushing the soil down hard (not superhero hard) with my fingers. Then I emphasize putting the pot on the table to put the seeds in. I’ll emphasize how many seeds we’re planting and then take more seeds than I need and place them in my palm. Then I count how many seeds I have and put back the extras I don’t need. I place the seed(s) on top of the soil and show them the seed so they can see it on top. Then I push a little soil from the side of the pot with a big flourish to emphasize and exuberantly pat the soil on top of the seed.
Use checkpoints to ensure students are doing it properly. As we work through the planting process, I am constantly checking on the students to make sure that they are correctly following the steps. I’ll hold the entire group from progressing to the next step until I’m sure everyone is on track. Before I take the lids off the seeds and we start actually planting, I make sure that everyone has the correct amount of soil and it is properly packed down. Once everyone has done that, we put the lid on the soil tub and the seeds come out. As students are working, I try to look to see they have the correct number of seeds. As they bring their pot to the tray, I make sure the seeds are covered up.
Clean up the soil on the table in between groups. I keep a dustpan handy to sweep the soil from the table away. Kids love moving the soil around and the sound of their hands and soil moving around on the tablecloth is noisy and distracting. Plus having a clean tablecloth makes it easier to see and salvage seeds when they get spilled. Because seeds do get dropped and spilled in this soil I always dispose of this soil in the compost or trash rather than putting it back into the soil tub. Otherwise, I end up with mystery plants sprouting adjacent to my known plants.
While it seems like a lot of work for you and somewhat controlling for the students, there is lots of room for error in planting. Over the years I’ve learned from my mistakes and this process really helps eliminate most of that error. Most of our seeds germinate with the plant that should be in the pot, only one plant sprouts and the seed is centered in the pot. The students still get the opportunity to feel soil between their fingers and to witness the process of a tiny seed sprouting and growing something amazing. It is such a different experience from the typical day to day classroom routine and they look forward to planting each and every time!