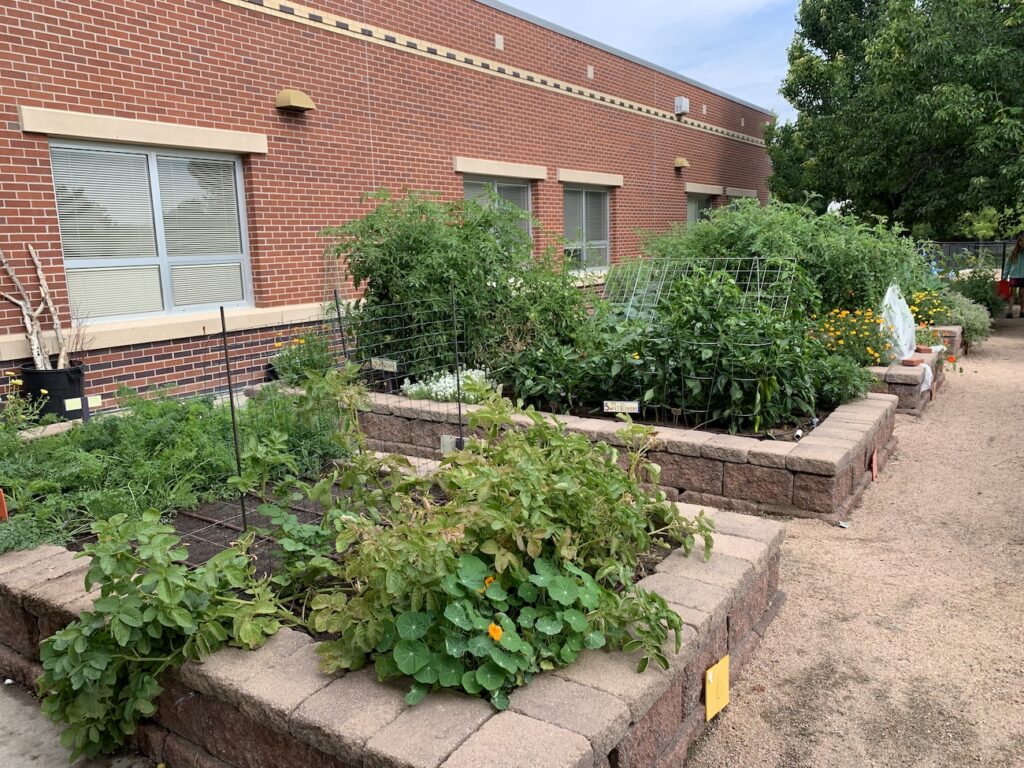
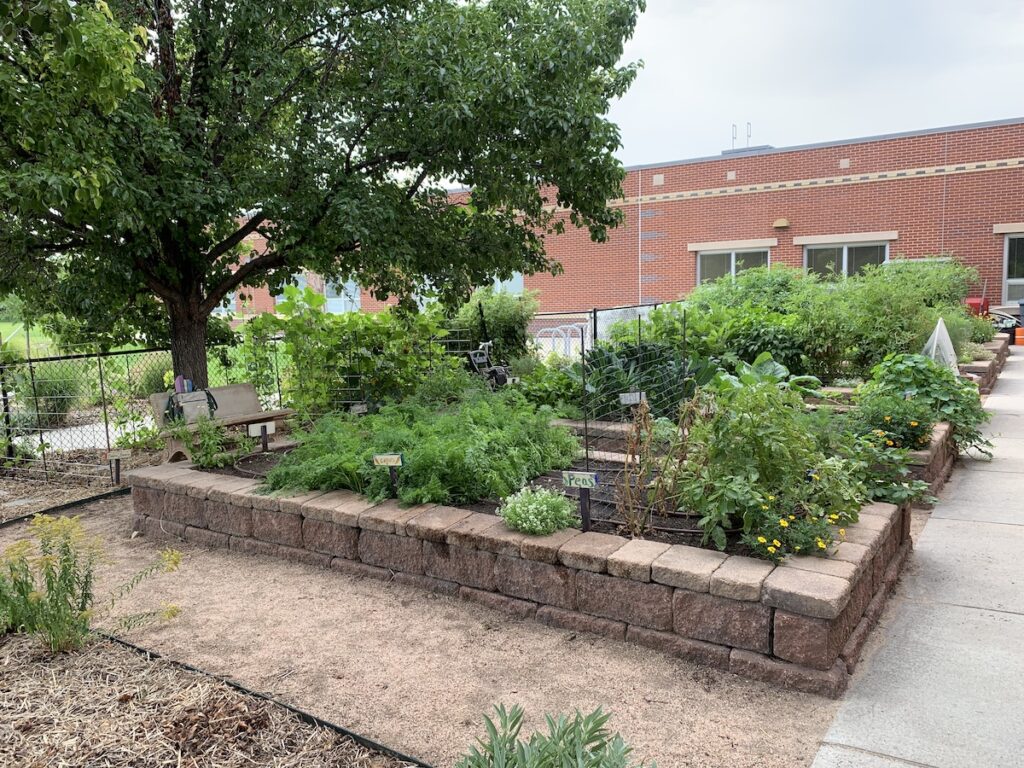
With New Years Day having just occurred, it’s time to start plotting and planning for the gardens. While some periods of the year are busier than others, working in/on the school gardens happens pretty much year-round here in Colorado. Here is an overview of what happens month by month in my gardens. Keep in mind that here in the Denver area, our last frost is typically mid-May and our first frost can occur anywhere from the last week of September to the first week in November, with it typically occurring the first or second week of October.
January

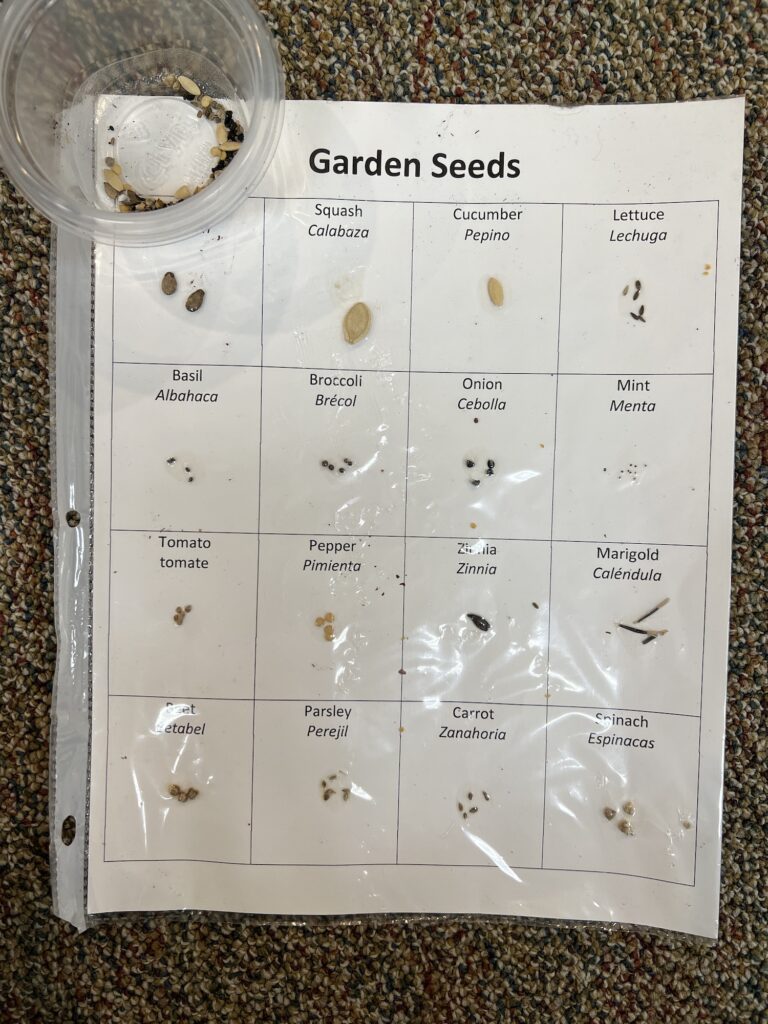
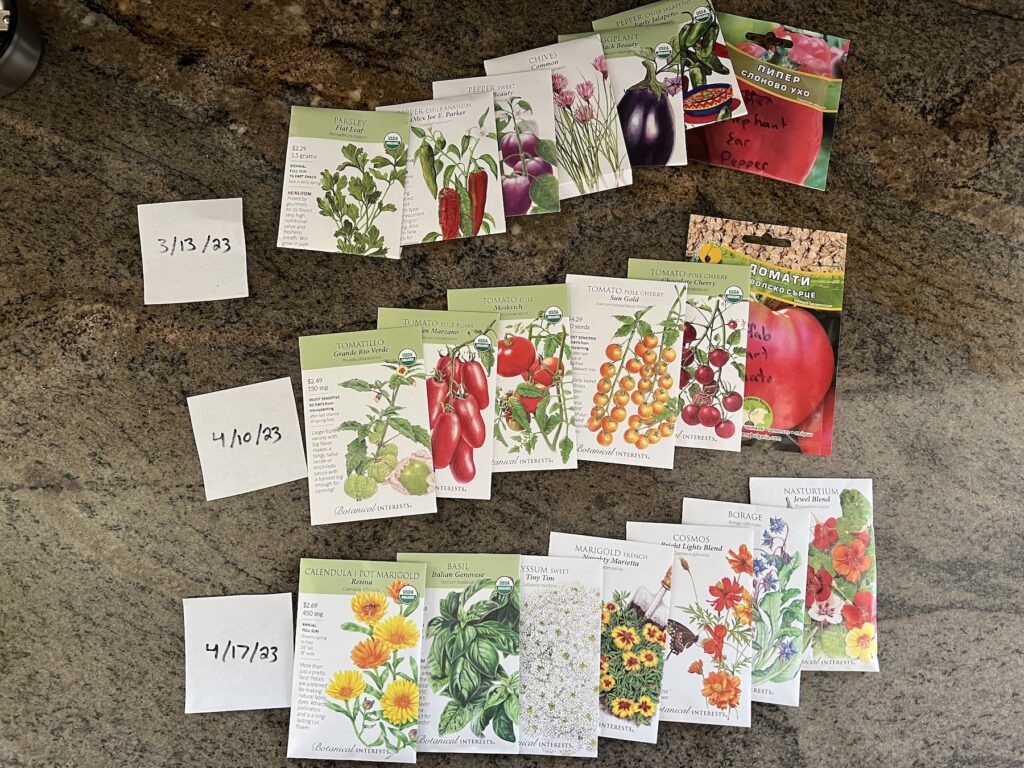
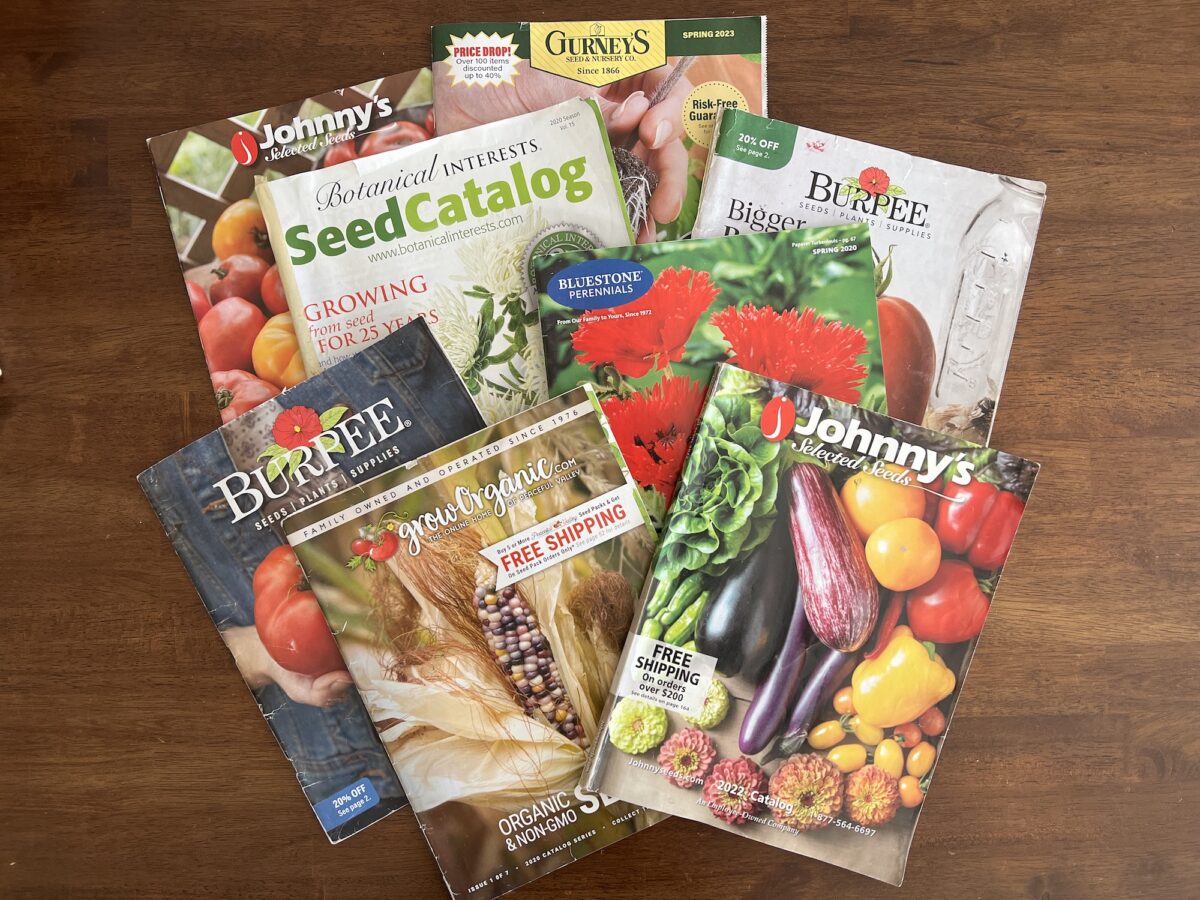
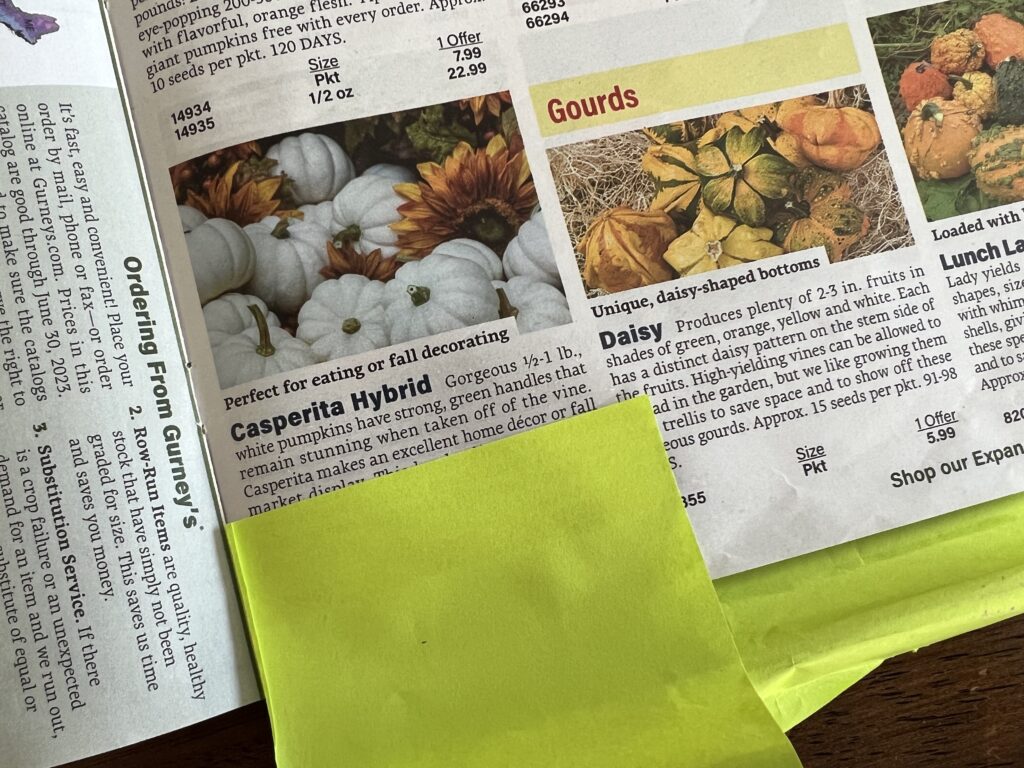
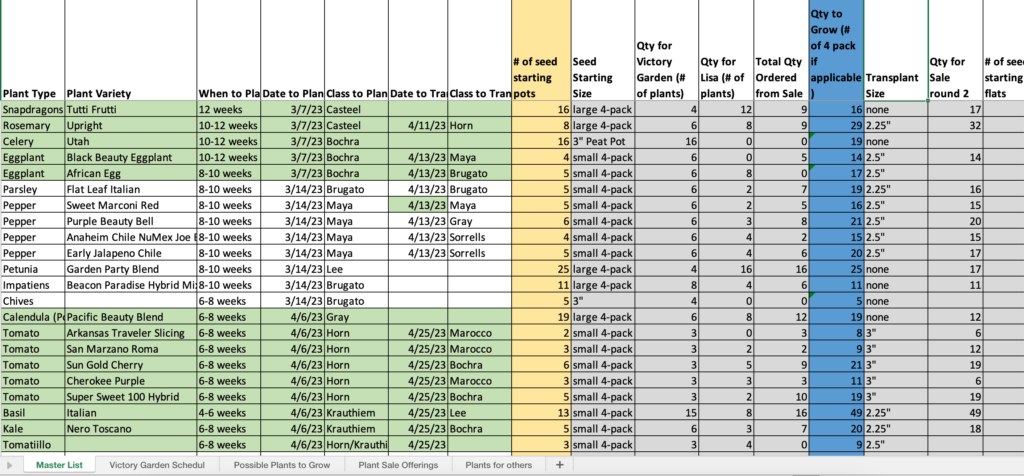
January marks the start of the garden year and is my planning month. This is when I get to curl up on the couch with a blanket, my laptop and the seed catalogs and figure out what we are going to grow and where it will be in each garden. I create maps of the gardens showing exactly where everything will grow and create spreadsheets detailing what, when and who will plant, and order seeds.
February
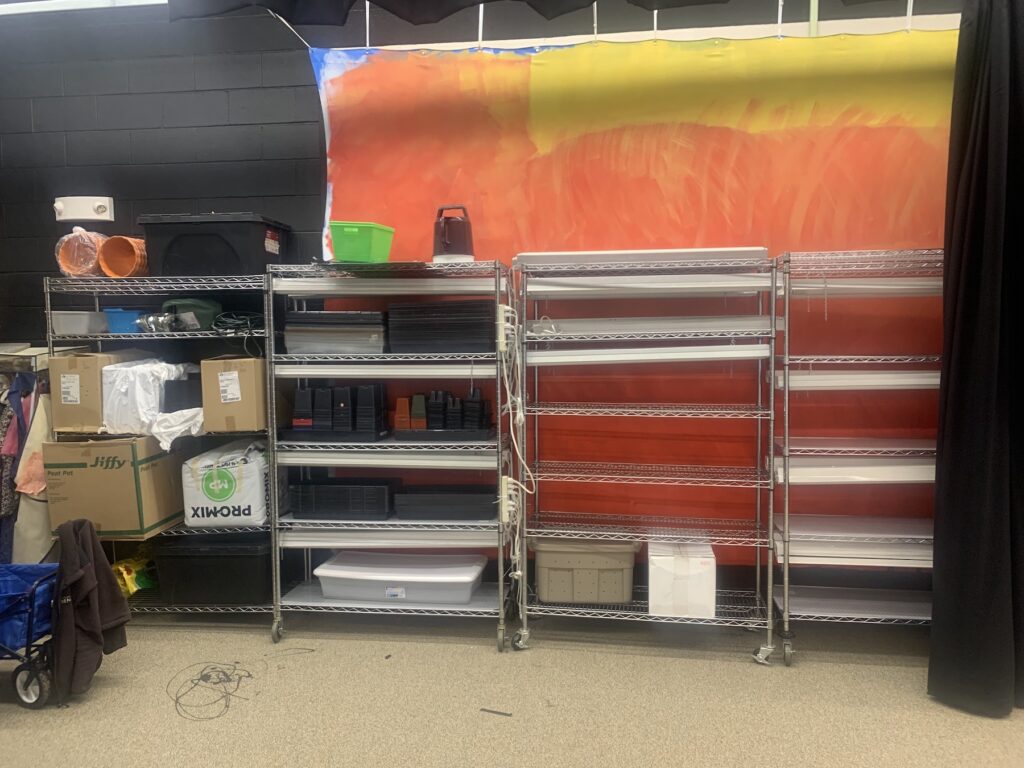
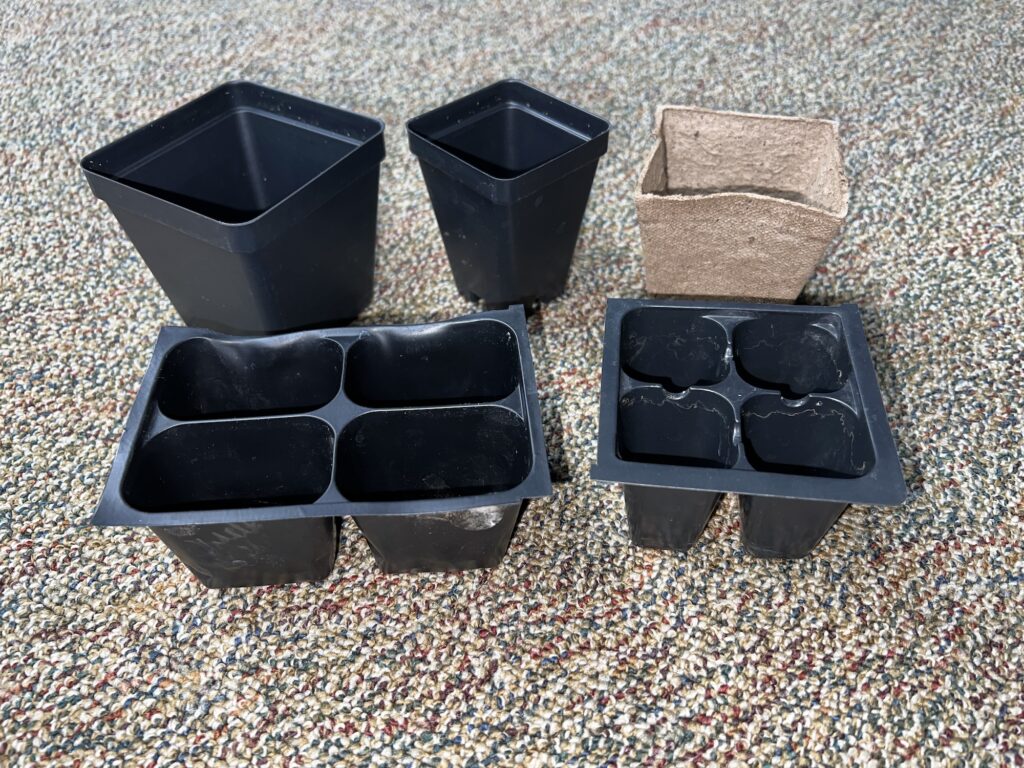
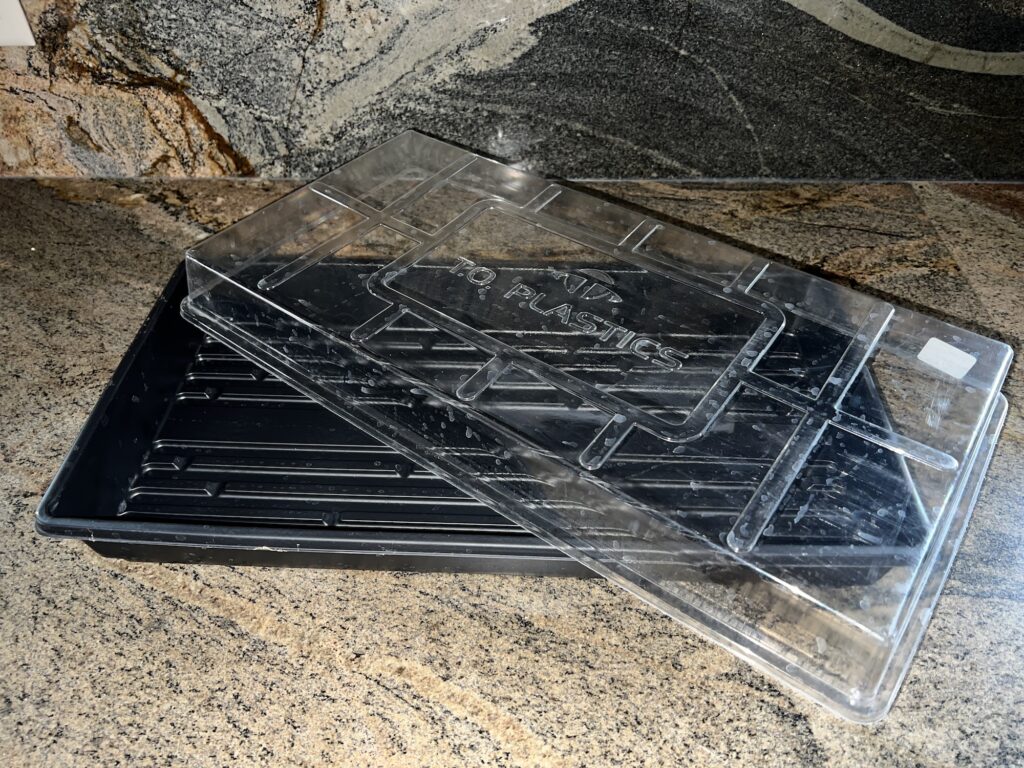
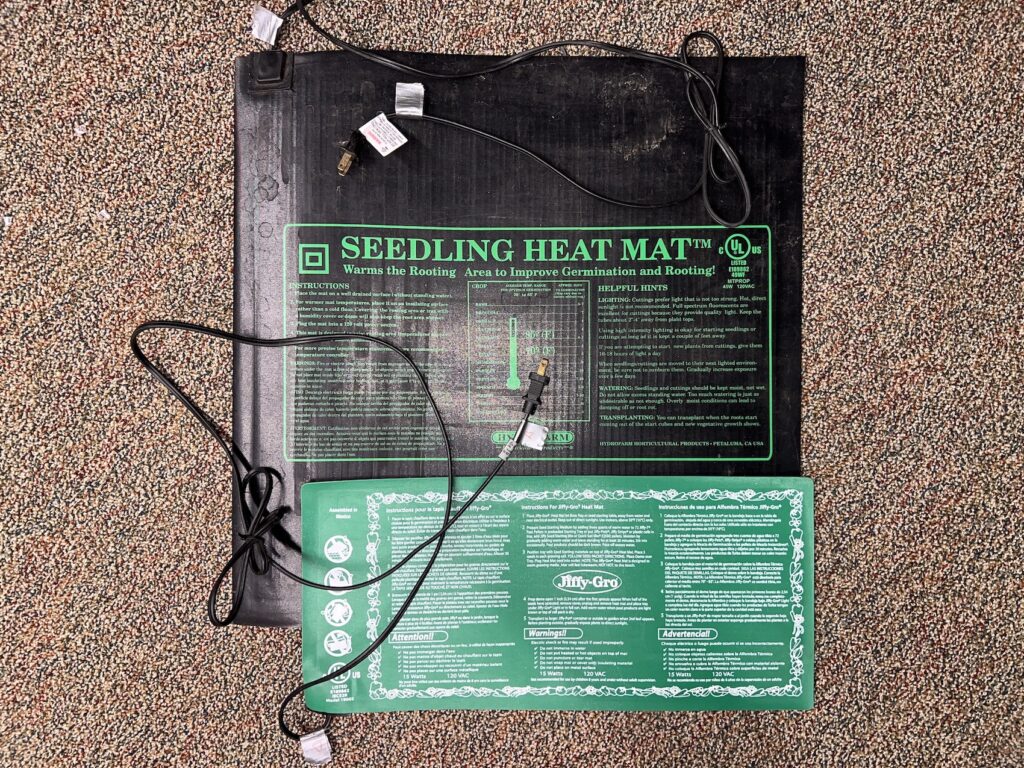
February is when I ensure that I have all of the materials I need for seed starting. I’ll inventory all of our supplies in storage and then visit our local greenhouse supply store and nurseries to stock up on potting soil, pots, trays, humidity domes and more. Once in hand, I will organize the seeds and other materials so they are ready to go.
At one of the schools I work at, we have an annual Plant Sale where the students grow all of the plants. The plants are all sold via pre-order so that we know exactly how many plants need to be grown. This presale occurs the entire month of February with all orders being made online. Plants are then picked up the Friday before Mother’s Day.
March
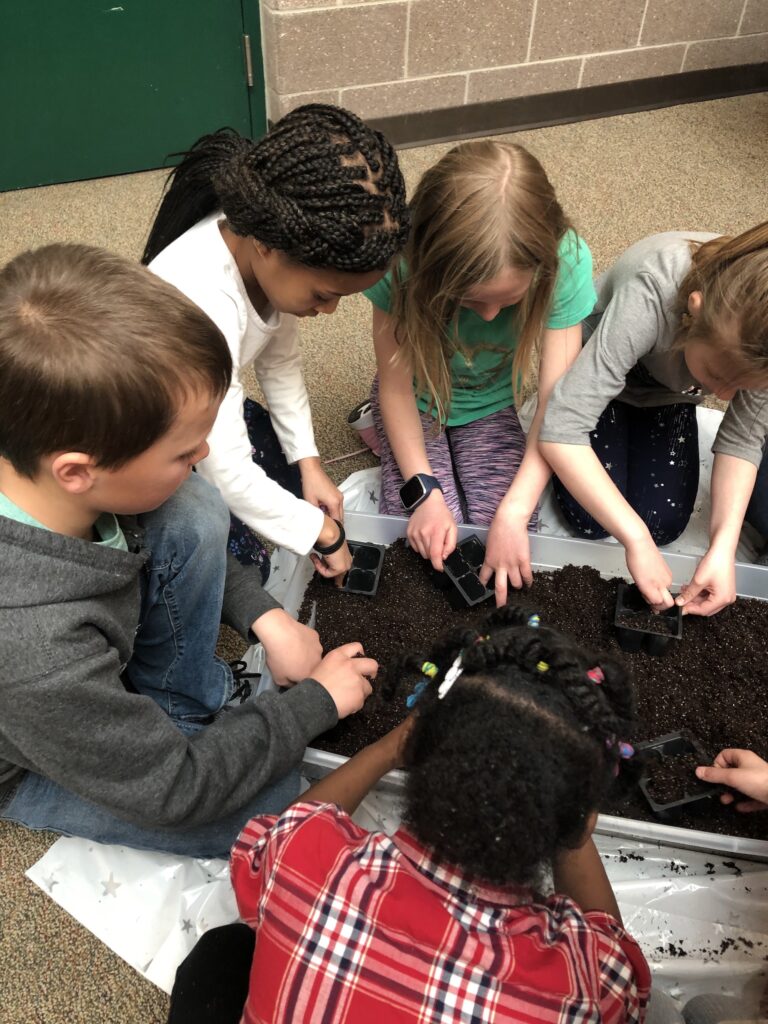
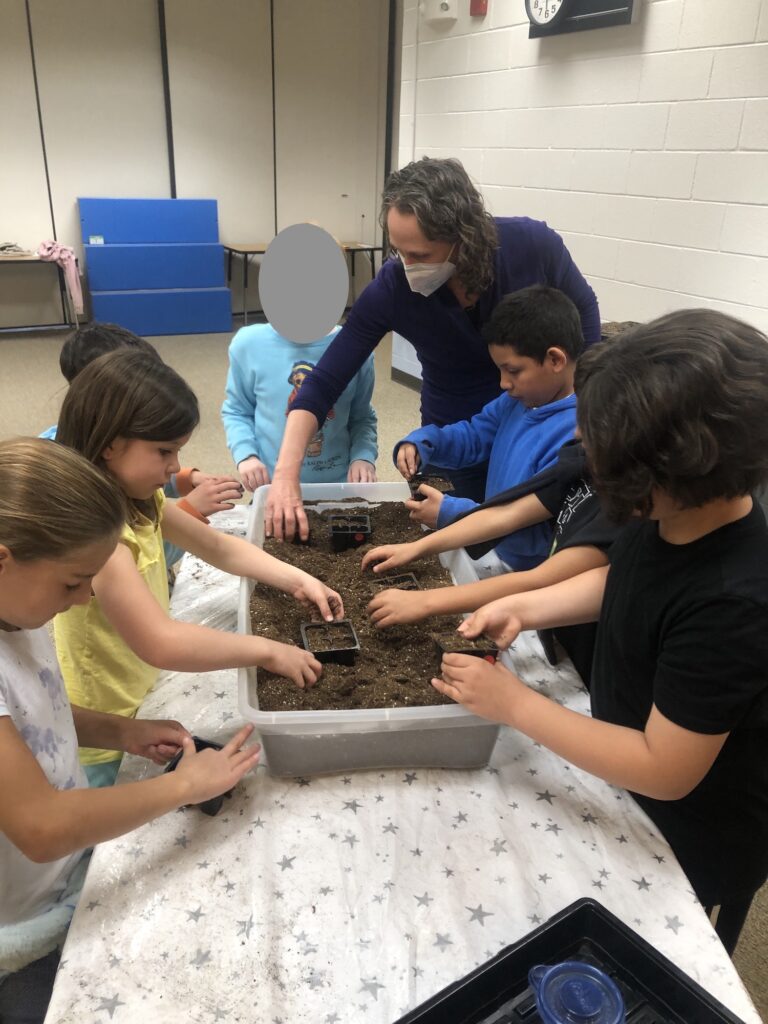
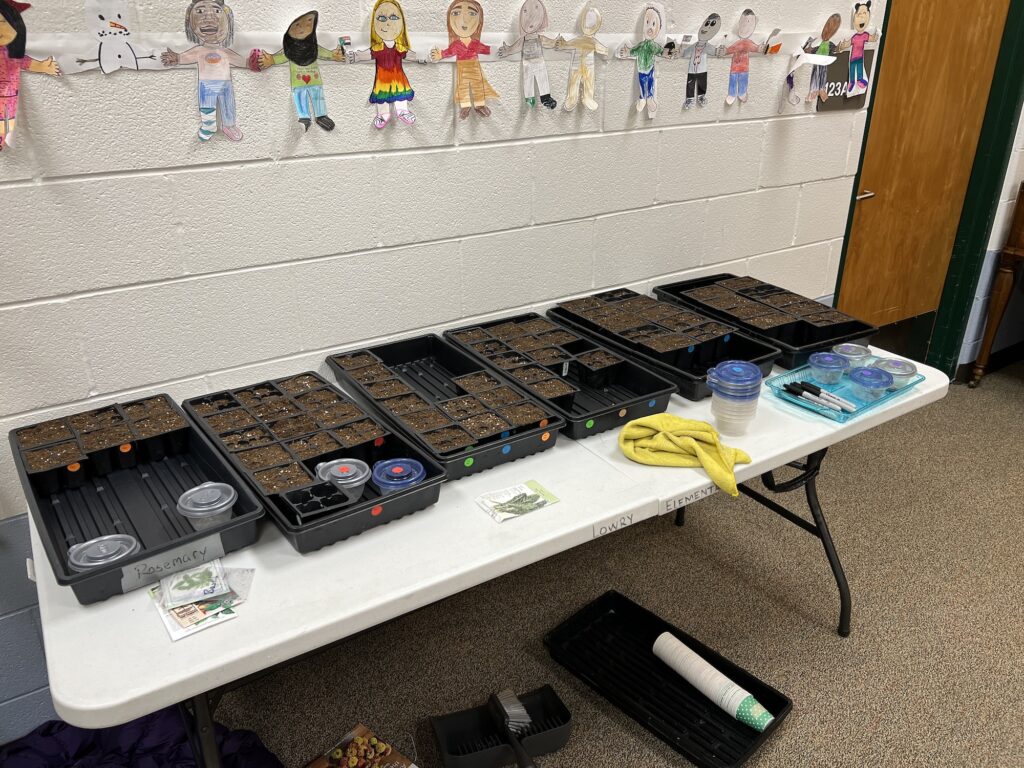
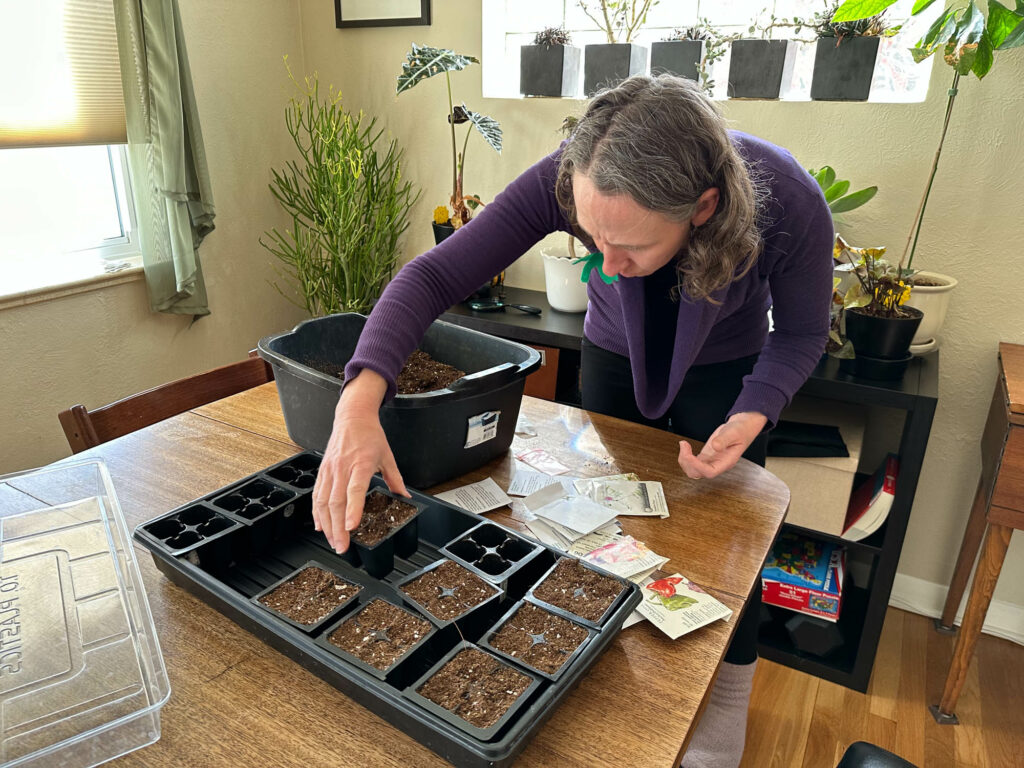
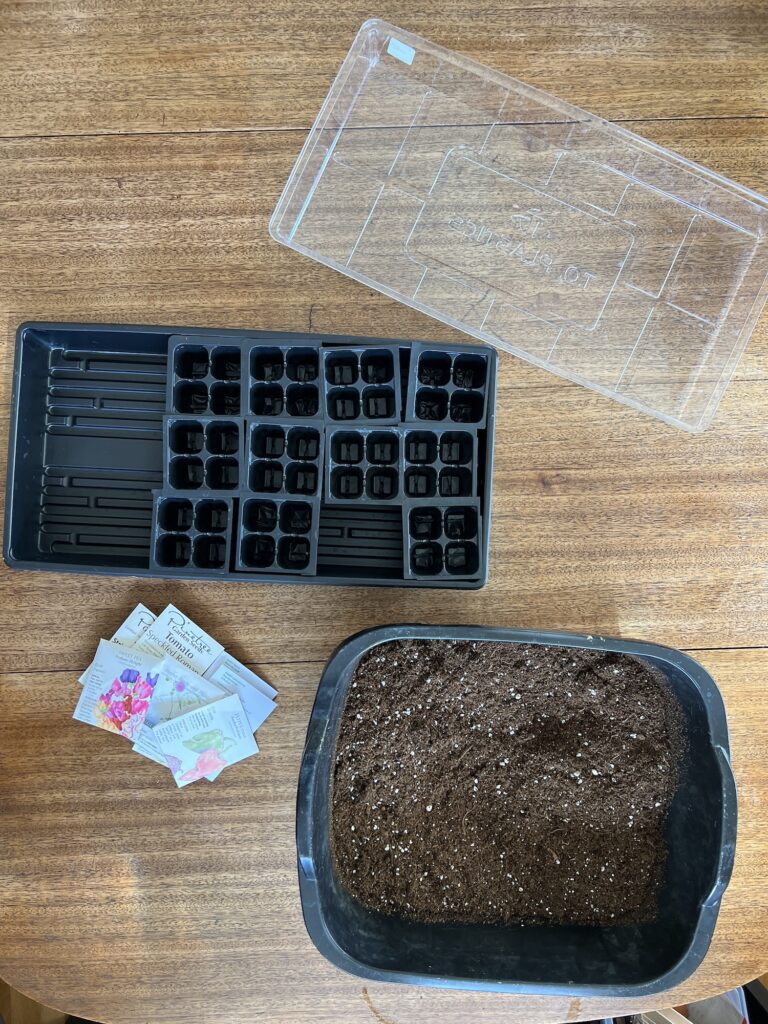
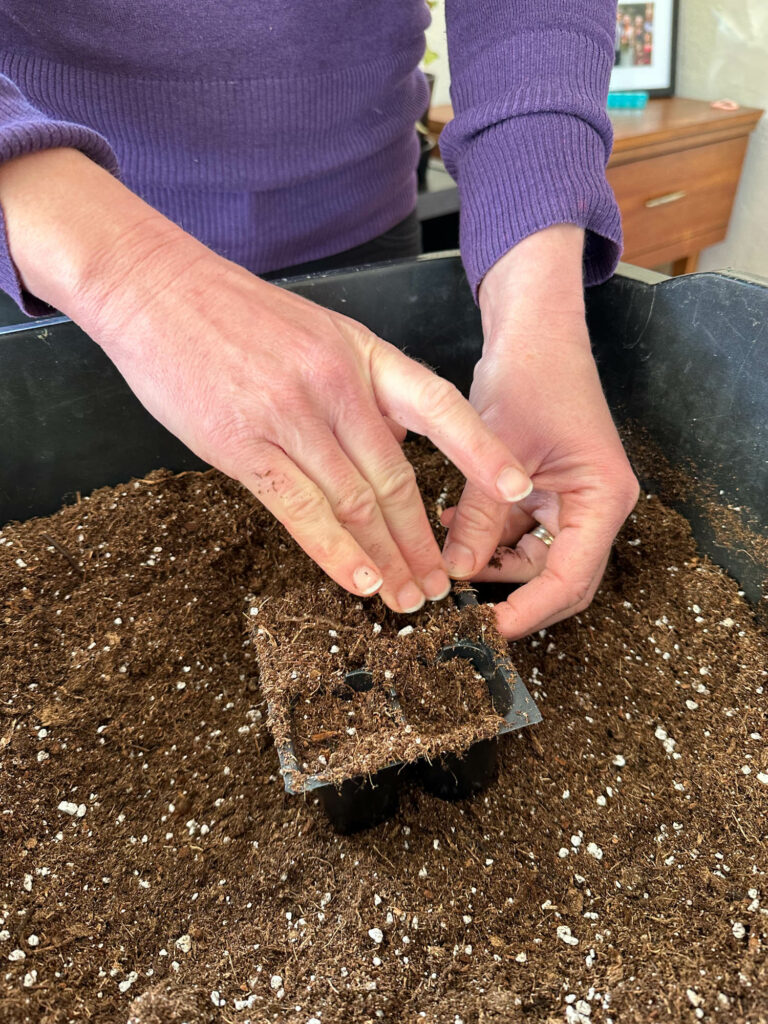
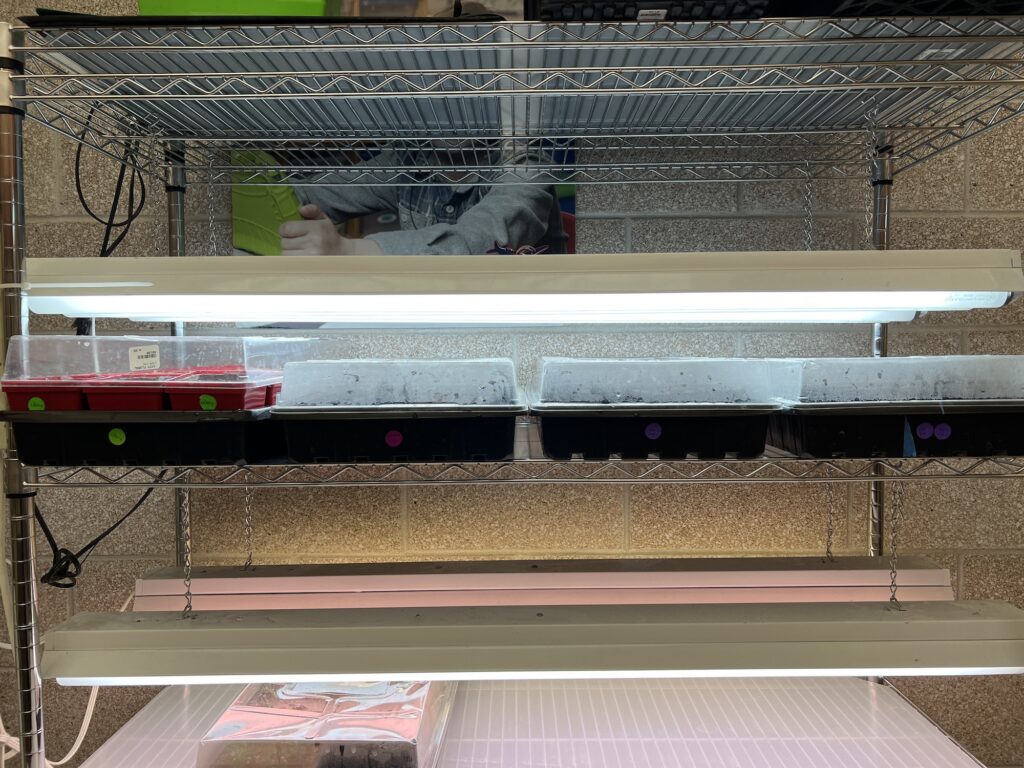
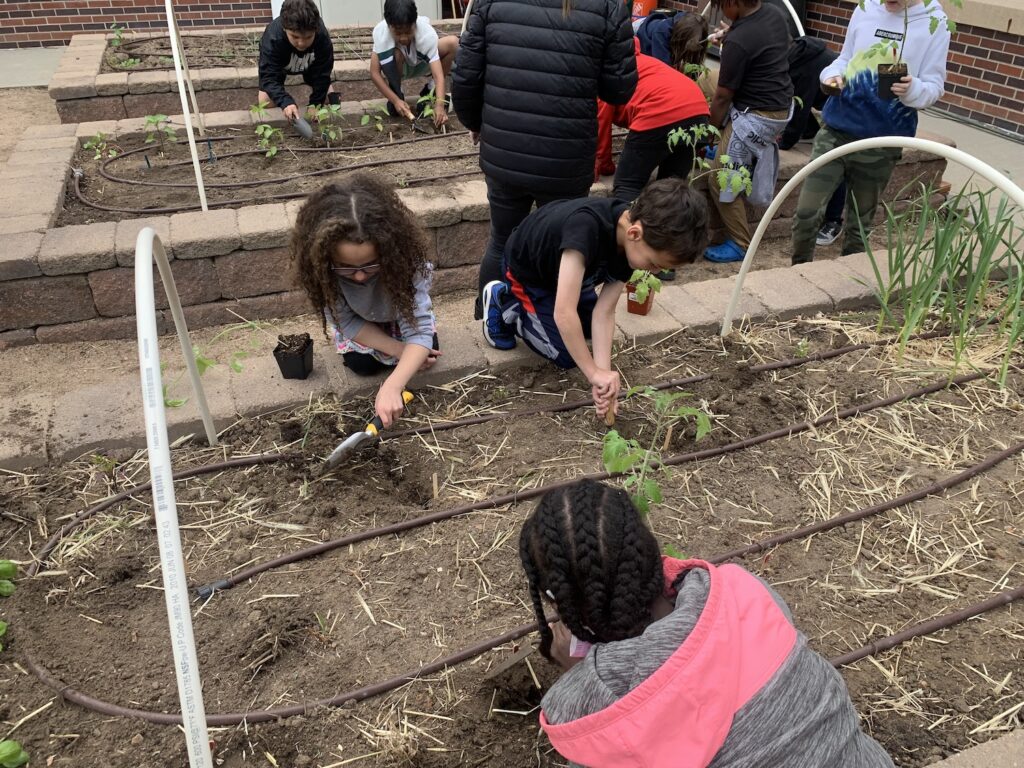
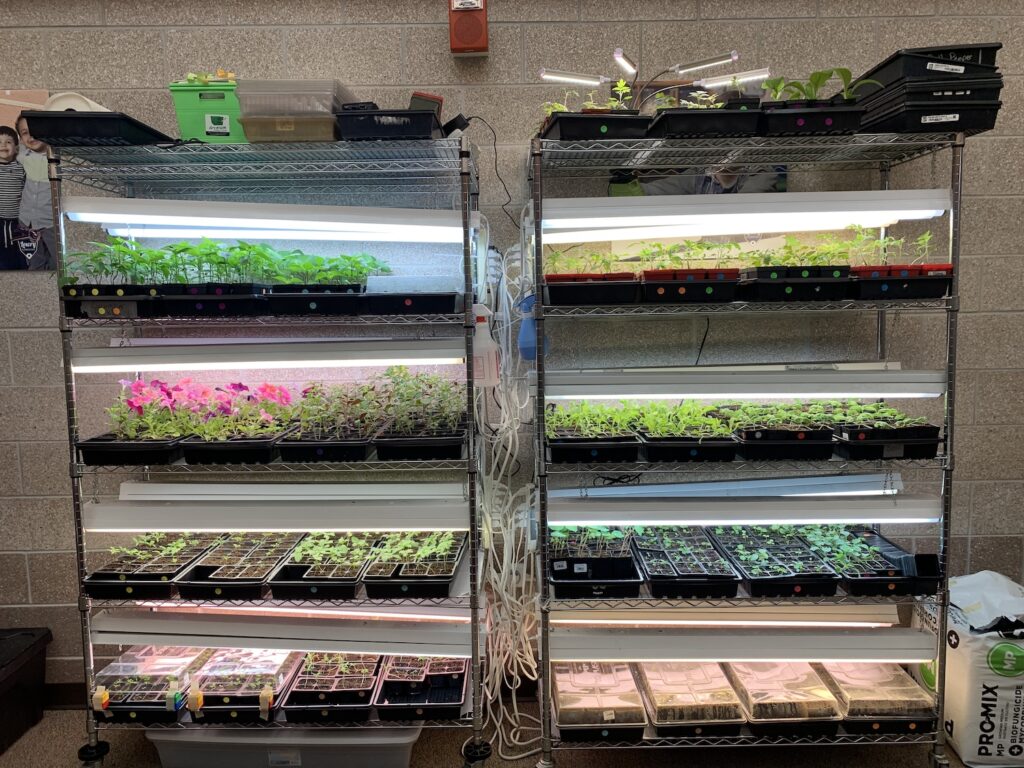
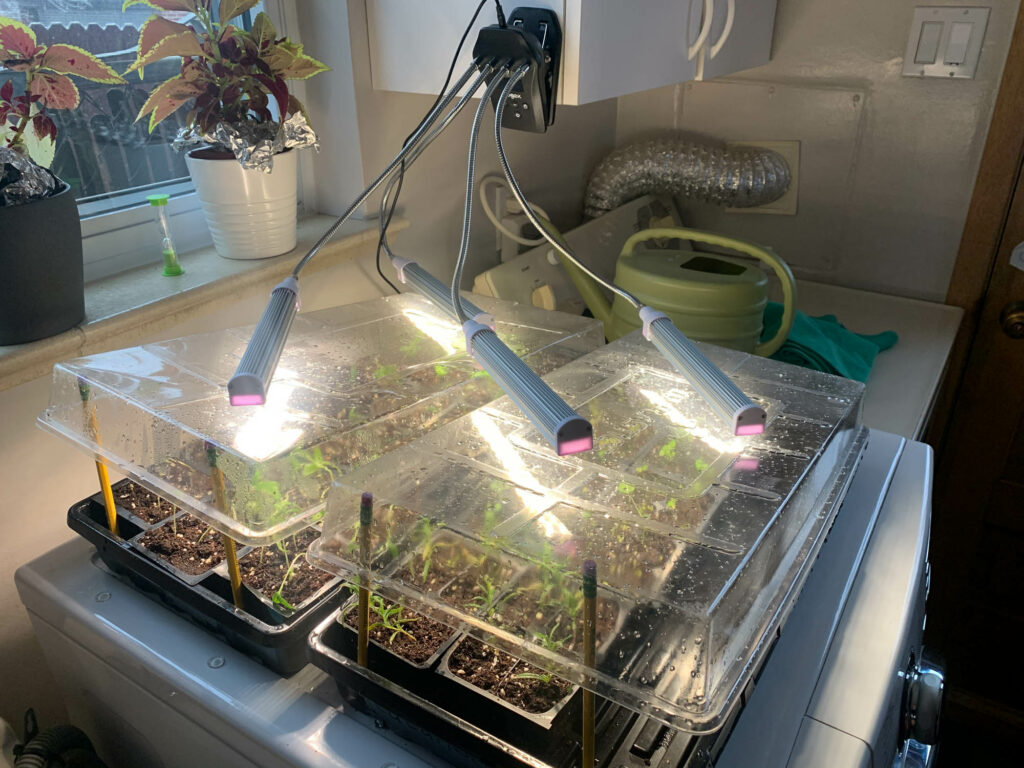
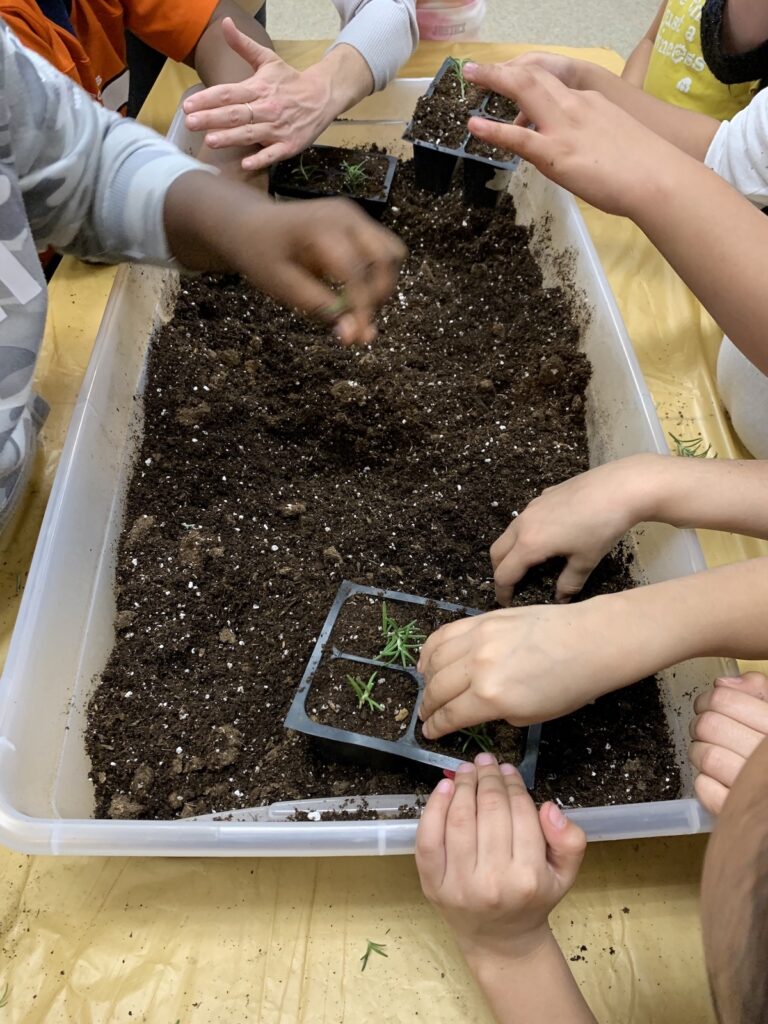
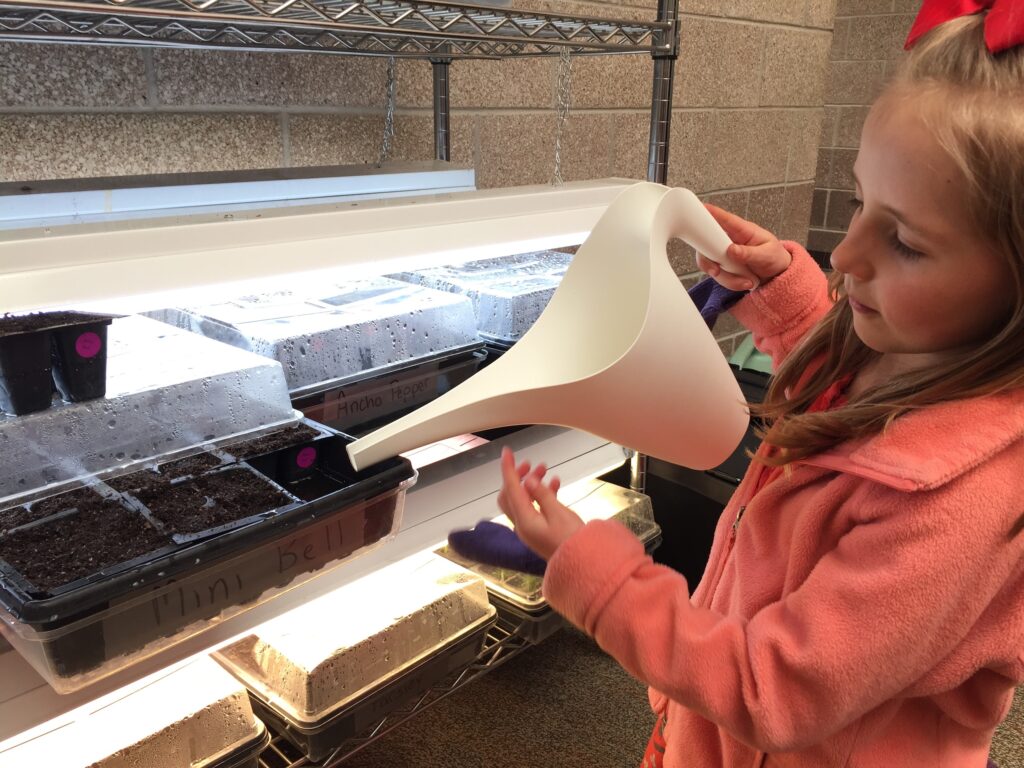
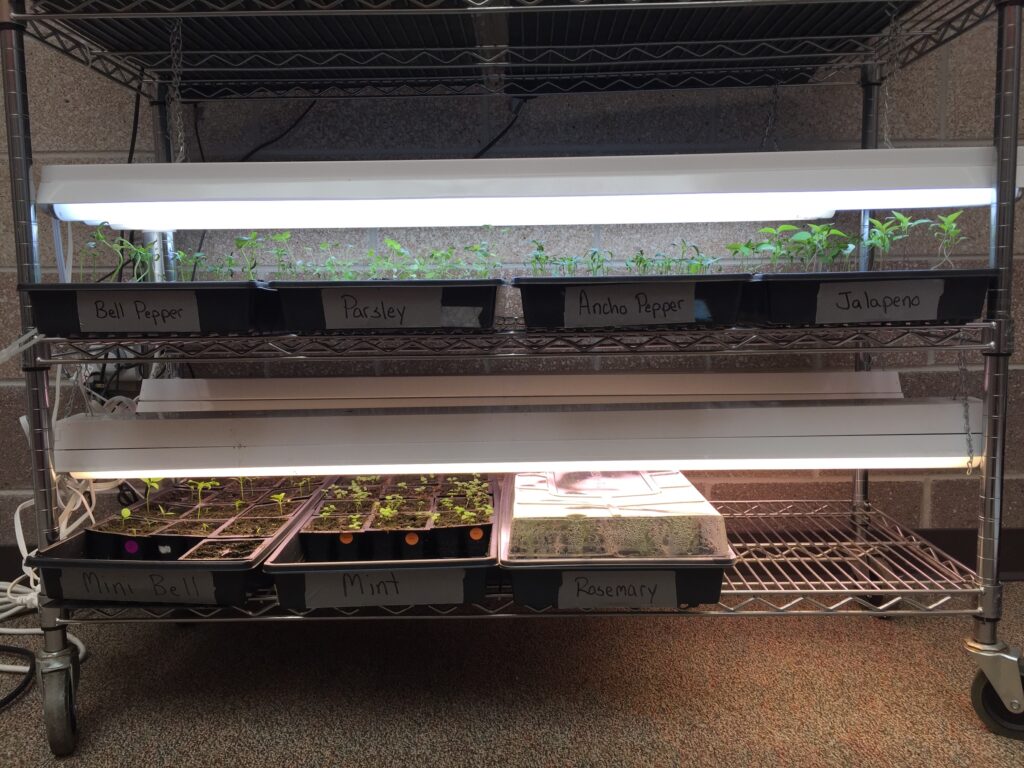
We actually get to start growing plants in March by beginning to grow seeds inside under the grow lights. We will start seeds inside beginning in early March and continuing through mid-April. Each seed variety requires a different length of time to grow before being big enough to transplant outside. Each of our seed planting days is scheduled to accommodate the different plants growing needs. Once the seeds are planted, I check on the plants twice a week to water, raise light height, and adjust humidity domes.
| Early March | Mid March | Late March | Early April | Mid April |
| 10-12 weeks | 8-10 weeks | 6-8 weeks | 4-6 weeks | 3-4 weeks |
| Eggplant | Peppers | Tomatoes | Marigold | Pumpkin |
| Parlsey | Chives | Kale | Zinnia | Squash |
| Celery | Petunias | Basil | Cosmo | Zucchini |
| Rosemary cuttings | Impatiens | Calendula | Alyssum | Cucumber |
| Snapdragons | Nasturtium |
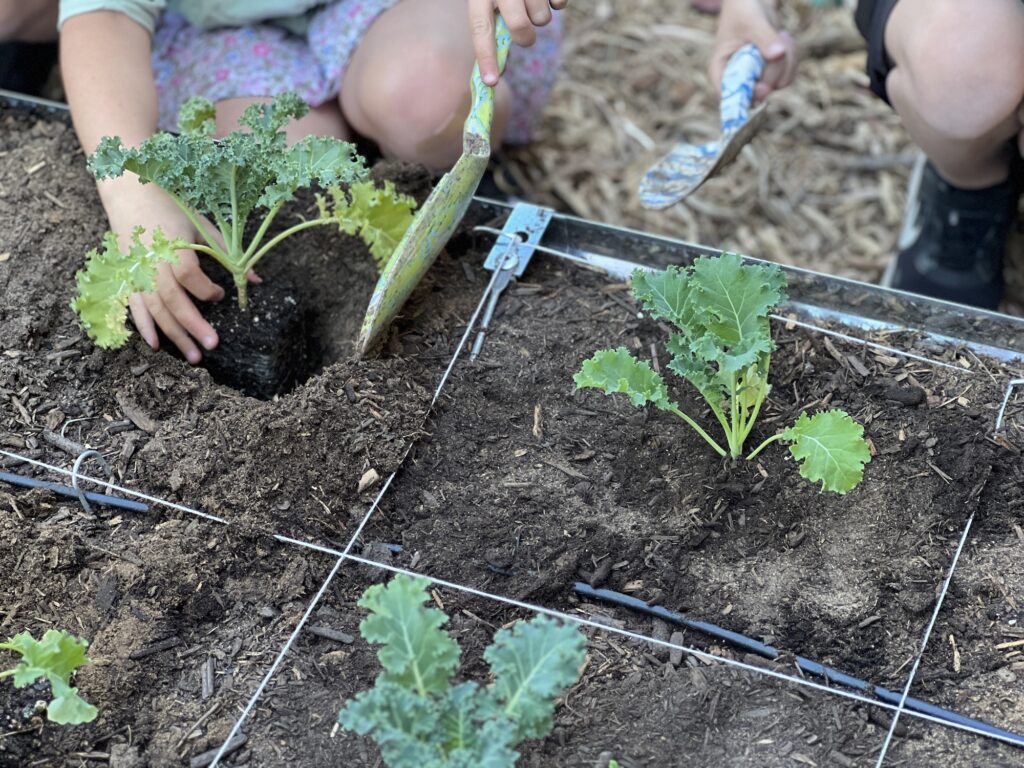
April
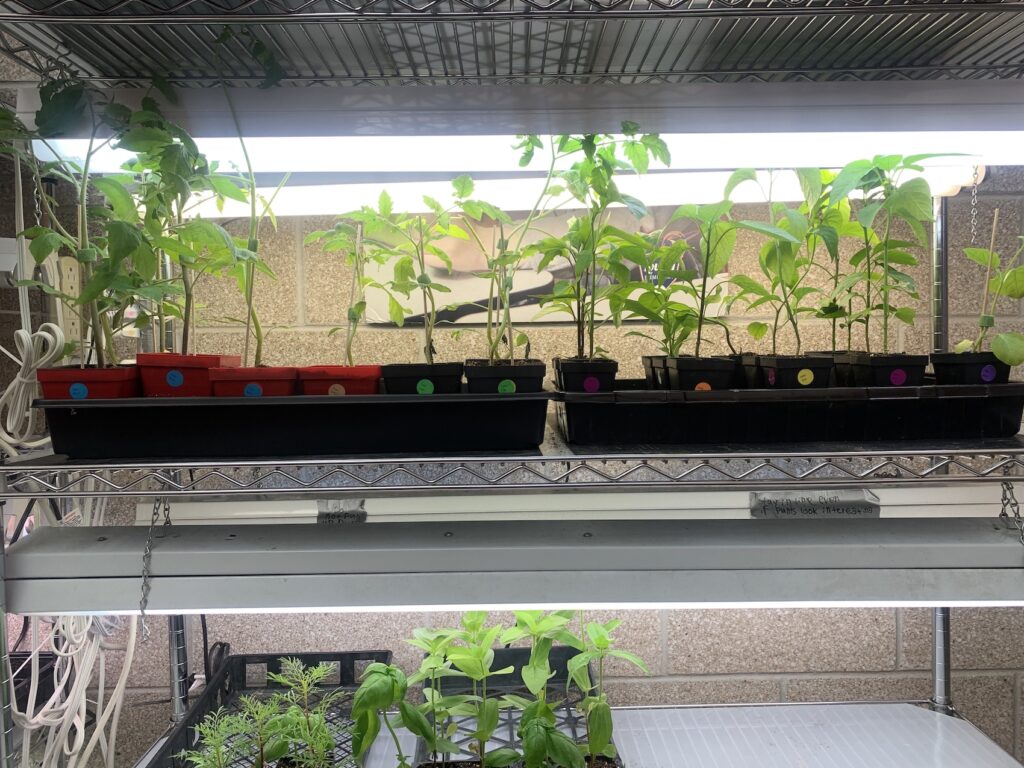
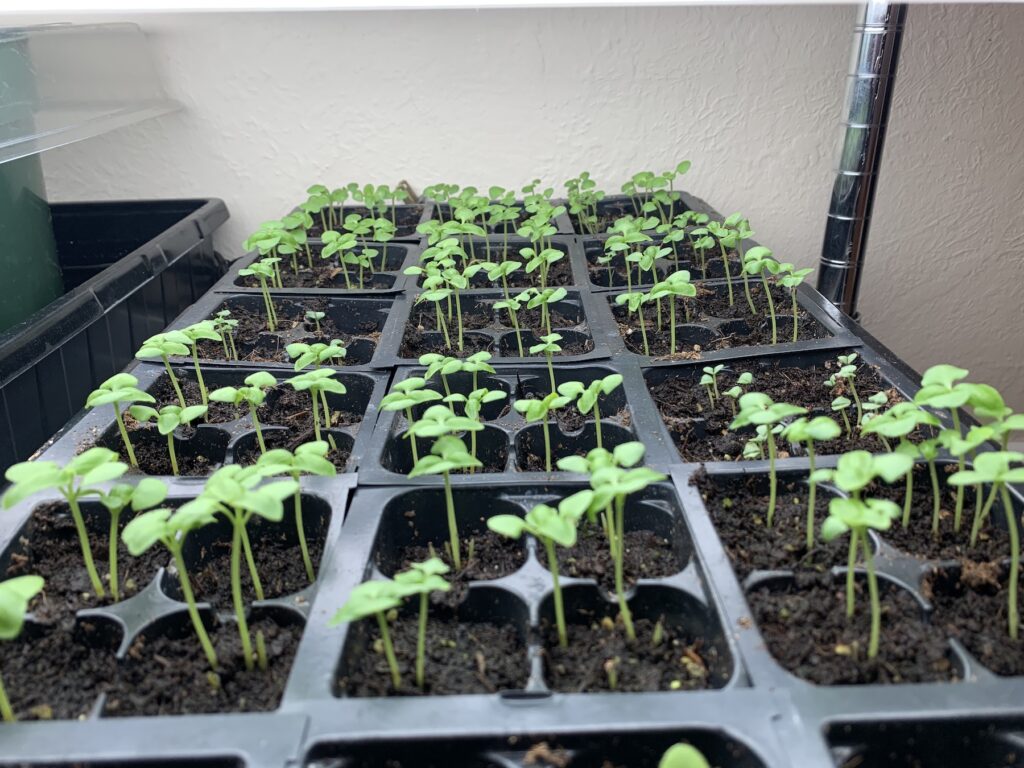
April kicks off the busy gardening season with activity happening both indoors and out. Inside we continue starting seeds. Meanwhile, the seeds started in March are now being transplanted into bigger pots and continuing to grow under the grow lights.
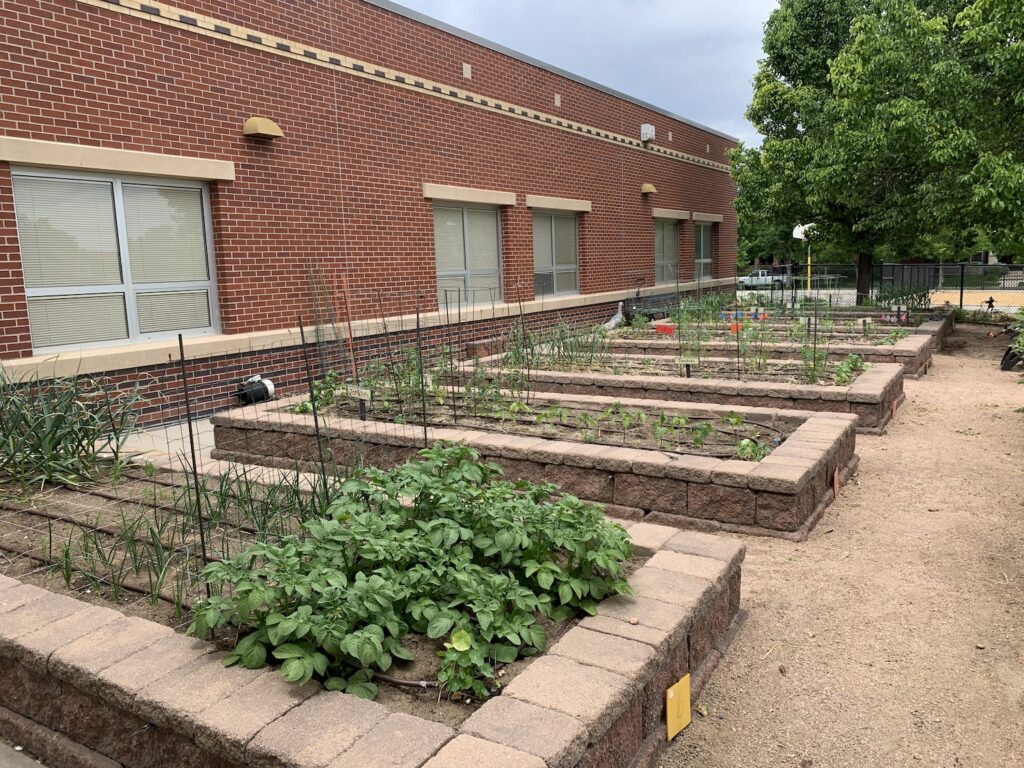
Outside, cool season plants that you want to harvest before the end of school can be started in the very beginning of April (you can start the end of March here in Denver, but we wait until students return from Spring Break). In the warm season beds, cover crop is cut down and dug into the beds towards the end of the month.
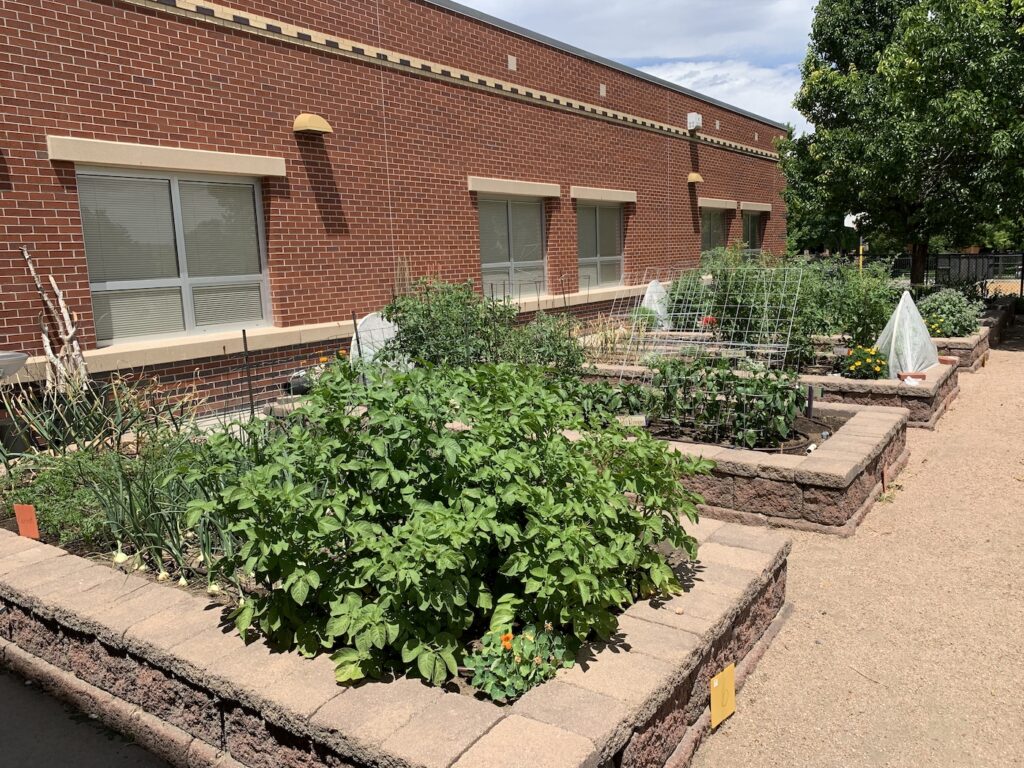
May
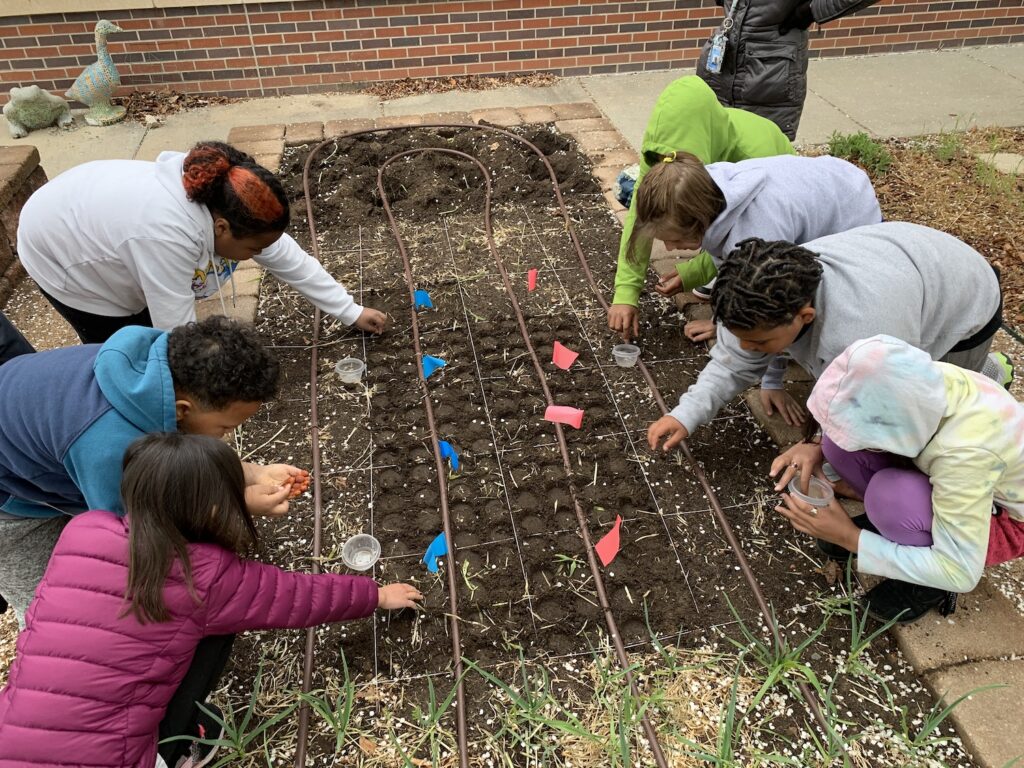
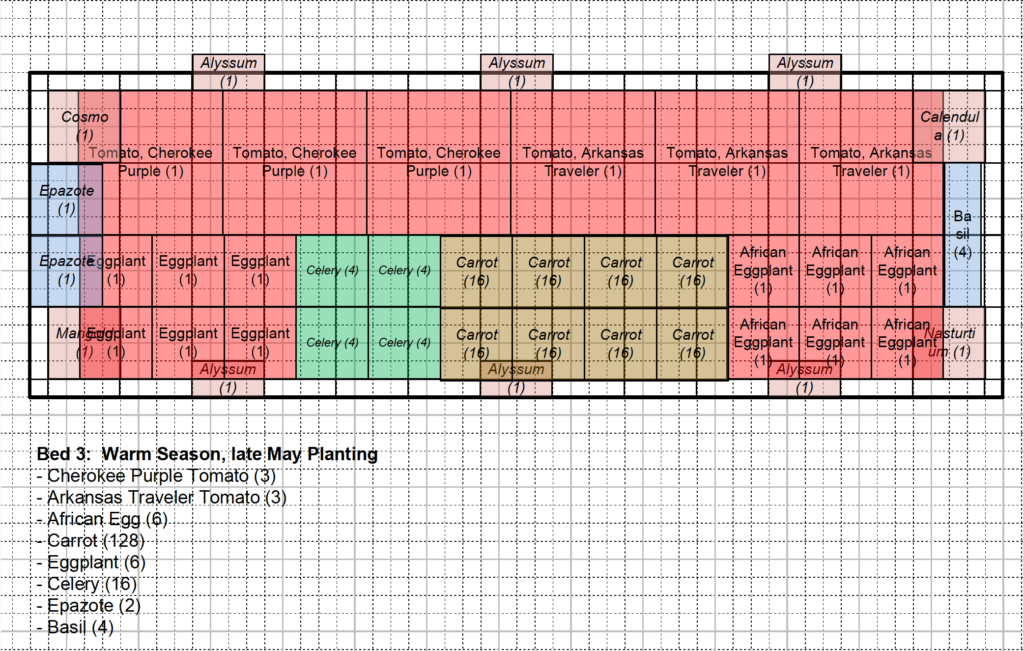
May is the when the outside garden finally begins to take shape. It’s a bustle of activity to squeeze everything in between our last frost free day and the end of the school year. We will typically plant cool season vegetables that will grow over the summer at the beginning of May. In mid May, we will plant some of the hardier plants that have been growing inside. In late May, we will plant the more tender plants from inside.
| Early May | Mid May | Late May | Early July | Late July |
| Carrot * | Parsley | Tomato | Beans* | Lettuce* |
| Potato | Rosemary | Peppers | Summer Squash* | Radish* |
| Onion (sets) | Kale | Basil | Zucchini* | Cilantro* |
| Swiss Chard* | Collard Green | Eggplant | Cucumber* | |
| Collard Green* | Alyssum | Chives | ||
| Calendula | Gourd | |||
| Cosmo | Squash | |||
| Borage | Watermelon* | |||
| Marigold | Swiss Chard | |||
| Nasturtium | Pumpkin | |||
| Sunflower* | Corn* | |||
| Beet* | ||||
| Okra | ||||
| * Varieties planted from seed | ||||
June
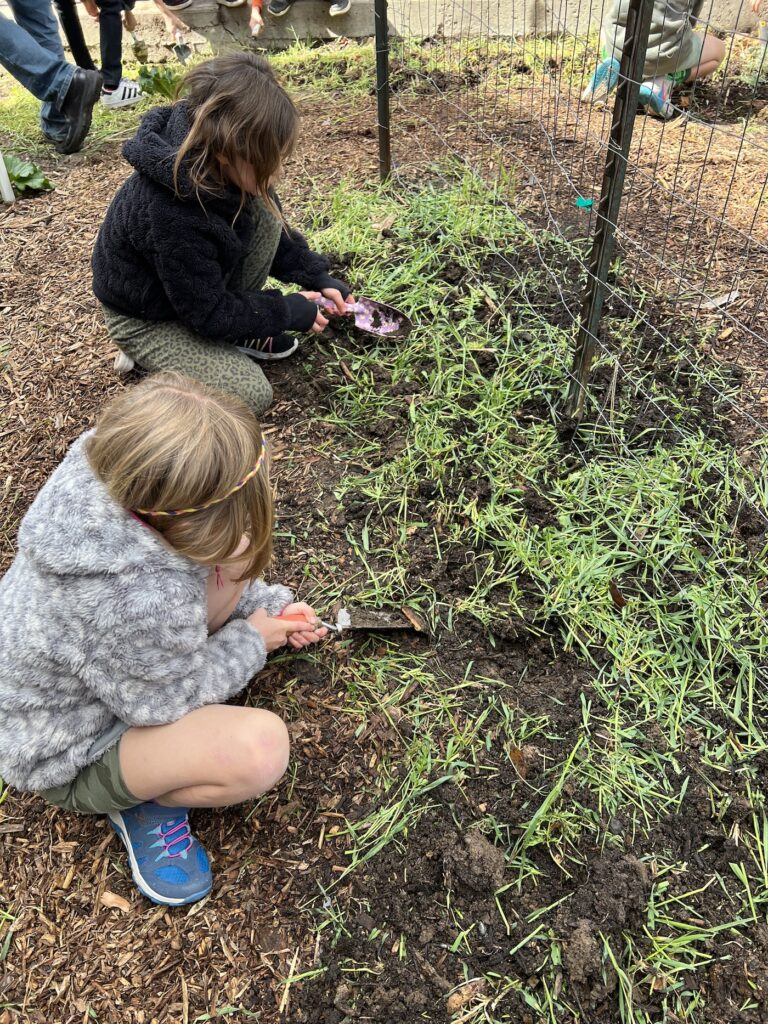
Students get out of school the last week in May or first week in June, so June kicks off summer maintenance. Families from the school volunteer to come in to weed, water as needed, and do pest control. I try to stop by the garden at least once a week so I know what needs to be done and can provide direction to families.
July
In July, summer maintenance continues. Throughout July, additional seeds are planted in the garden. In a typical home garden, these plants are planted in May along with the other plants. However, each of these plants begin producing quickly (30-45 days) and are therefore planted in July so that production begins right about when school starts in late August. The batch in late July are all cool season plants and don’t particularly like to germinate in the heat of July. I always cover the seedlings with shade cloth laid an inch or two above the soil (resting on the edges of the raised beds) to help maintain moisture and cool down the soil.

Garlic that was planted back in November as the garden was being put to bed for the winter is typically ready to harvest in mid-July, while onions are ready in late July/early August. The onions and garlic cure in my garage until school starts and produce distribution begins. The gaps left by harvesting these are filled in with the late July planted seeds.
August

Summer maintenance continues into August. Thankfully, here in Denver, the weeds start to slow down as our energy transitions into harvesting. Typically we start harvesting the first week in August with cherry tomatoes, peppers and greens. School isn’t back in session until the last week in August, so the first couple harvests go to families who are taking care of the garden and/or to families in the community who lack access to fresh food. The first harvest with students typically occurs the very end of August.
September
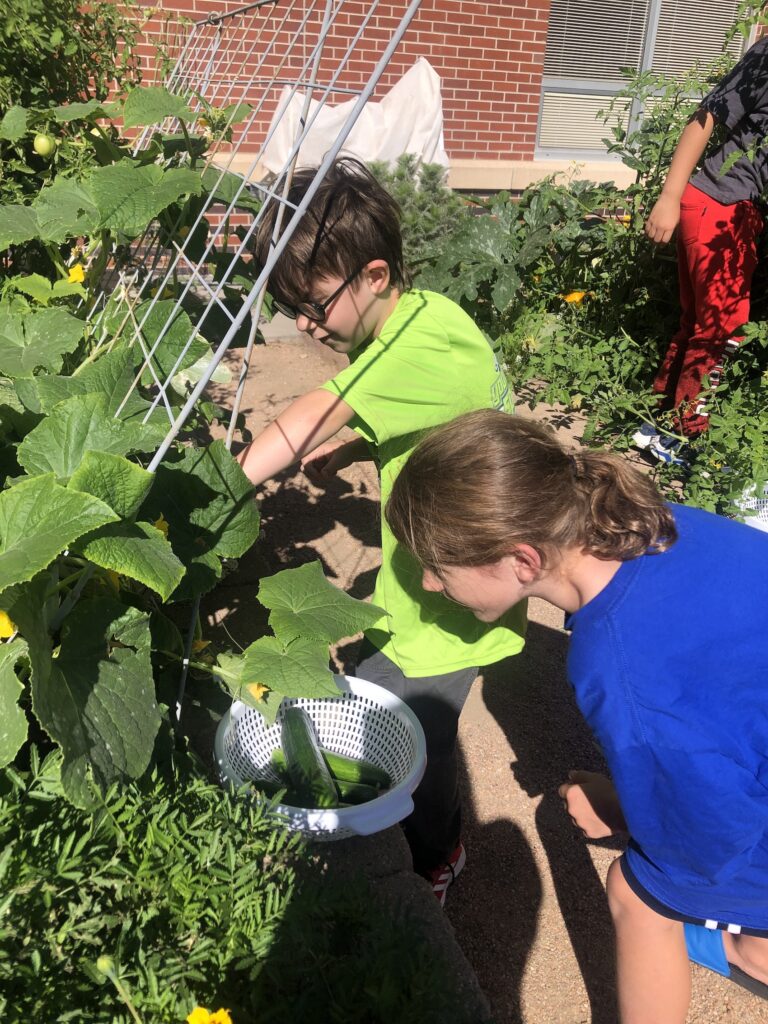
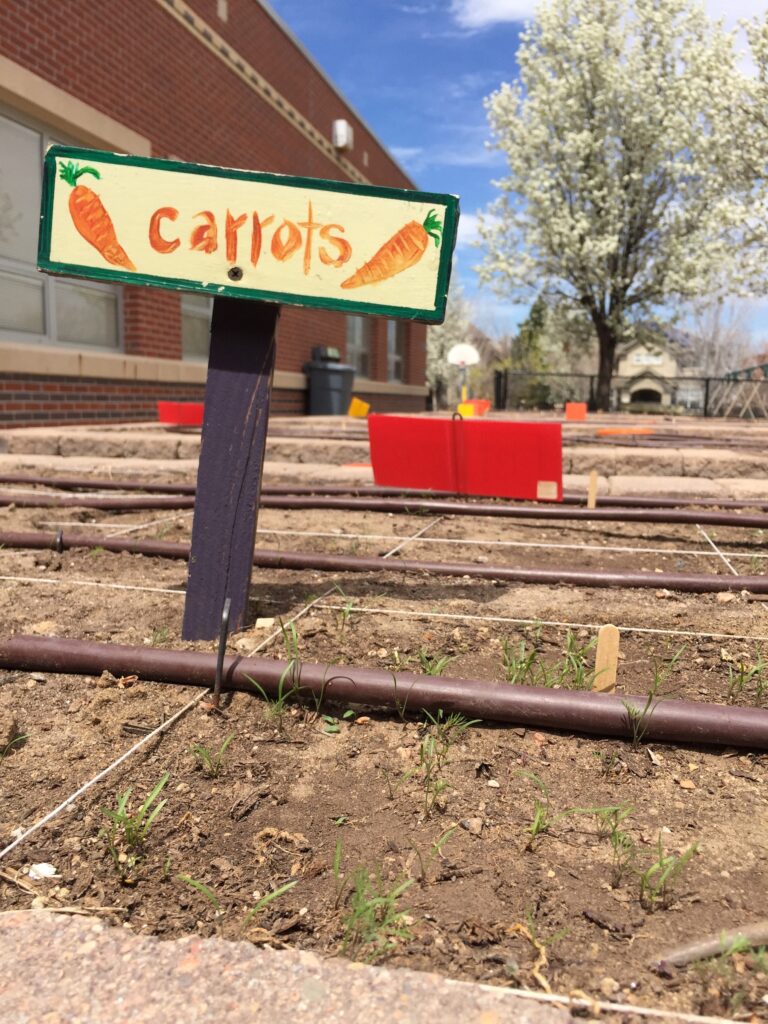
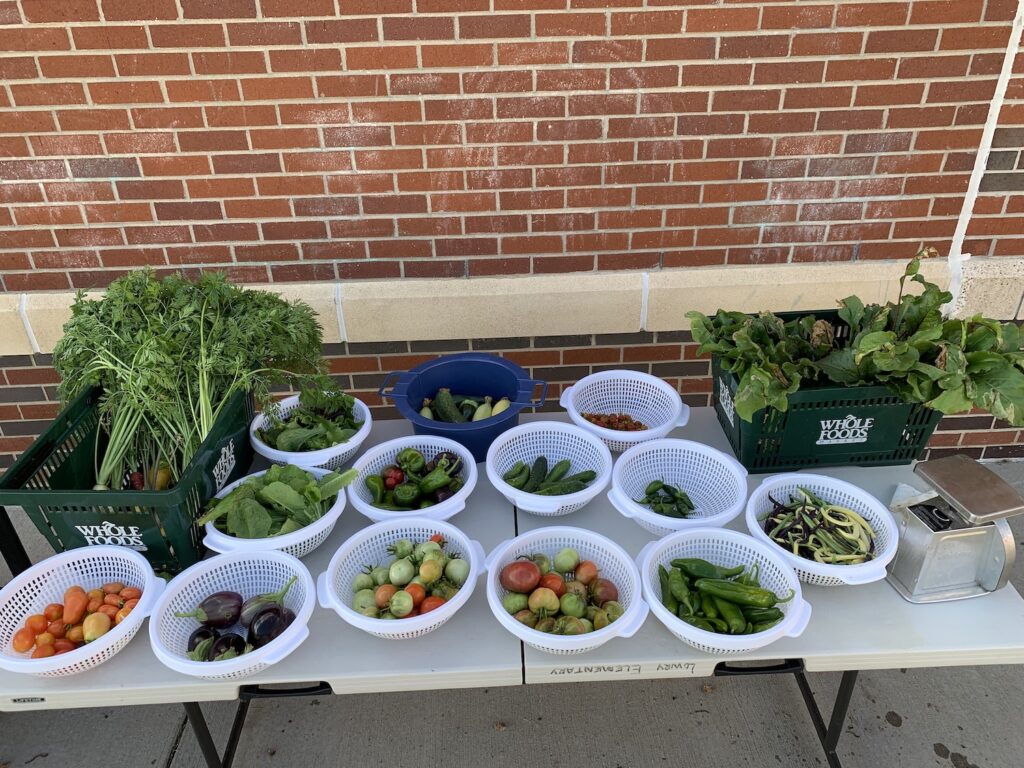
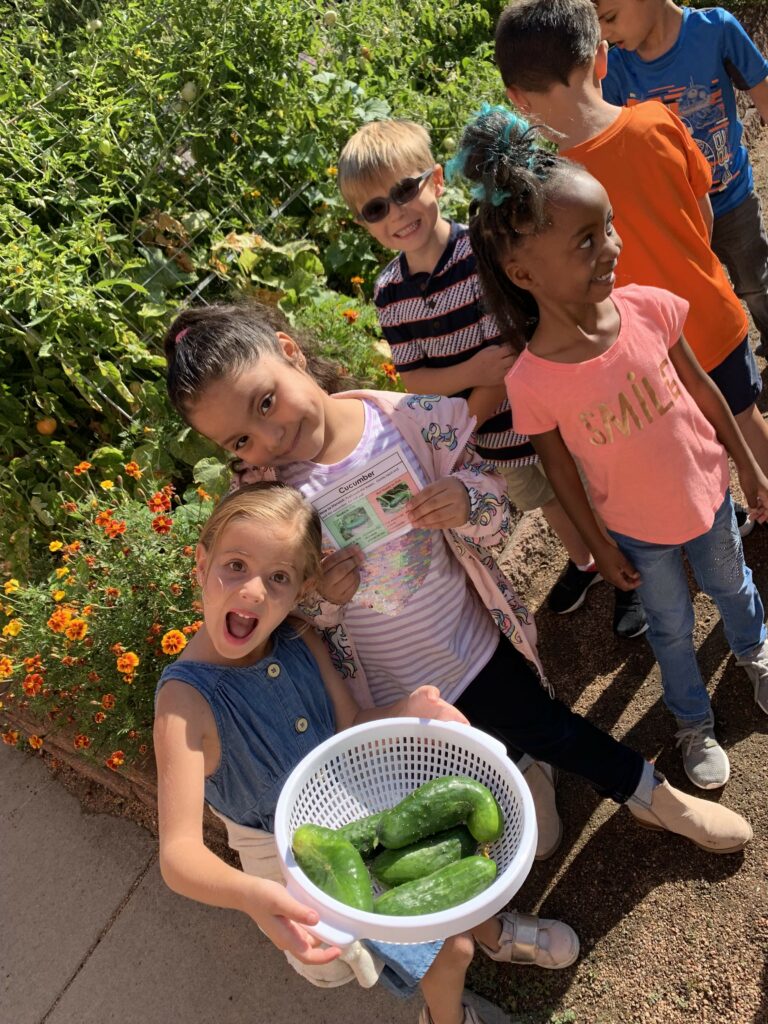
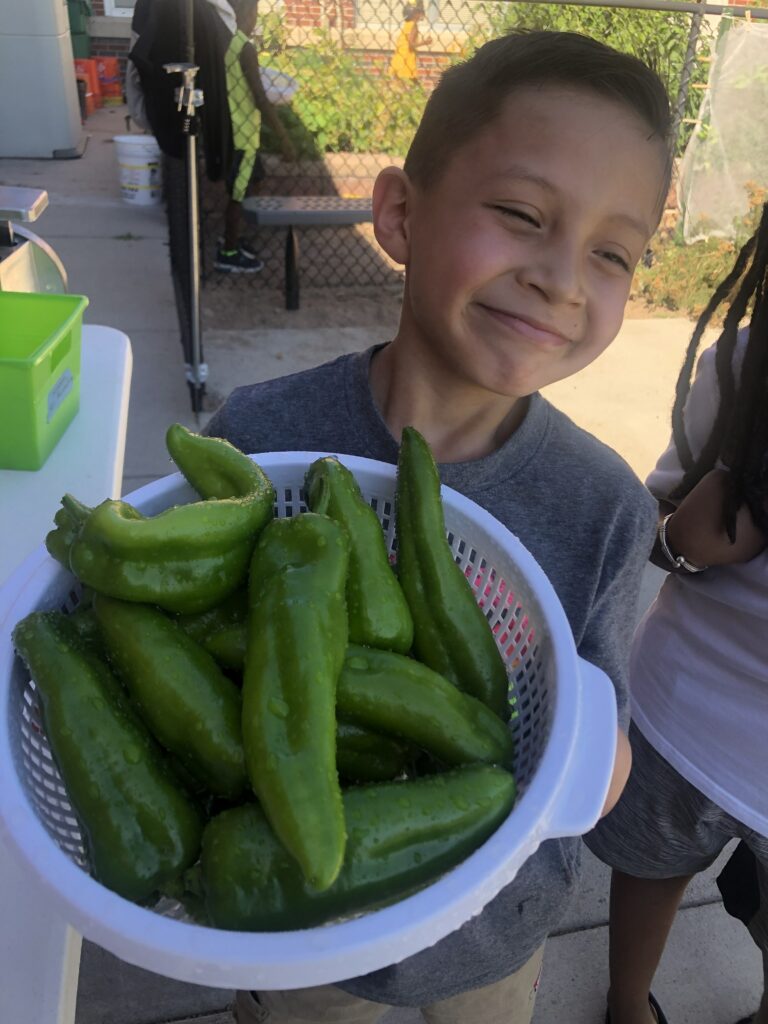
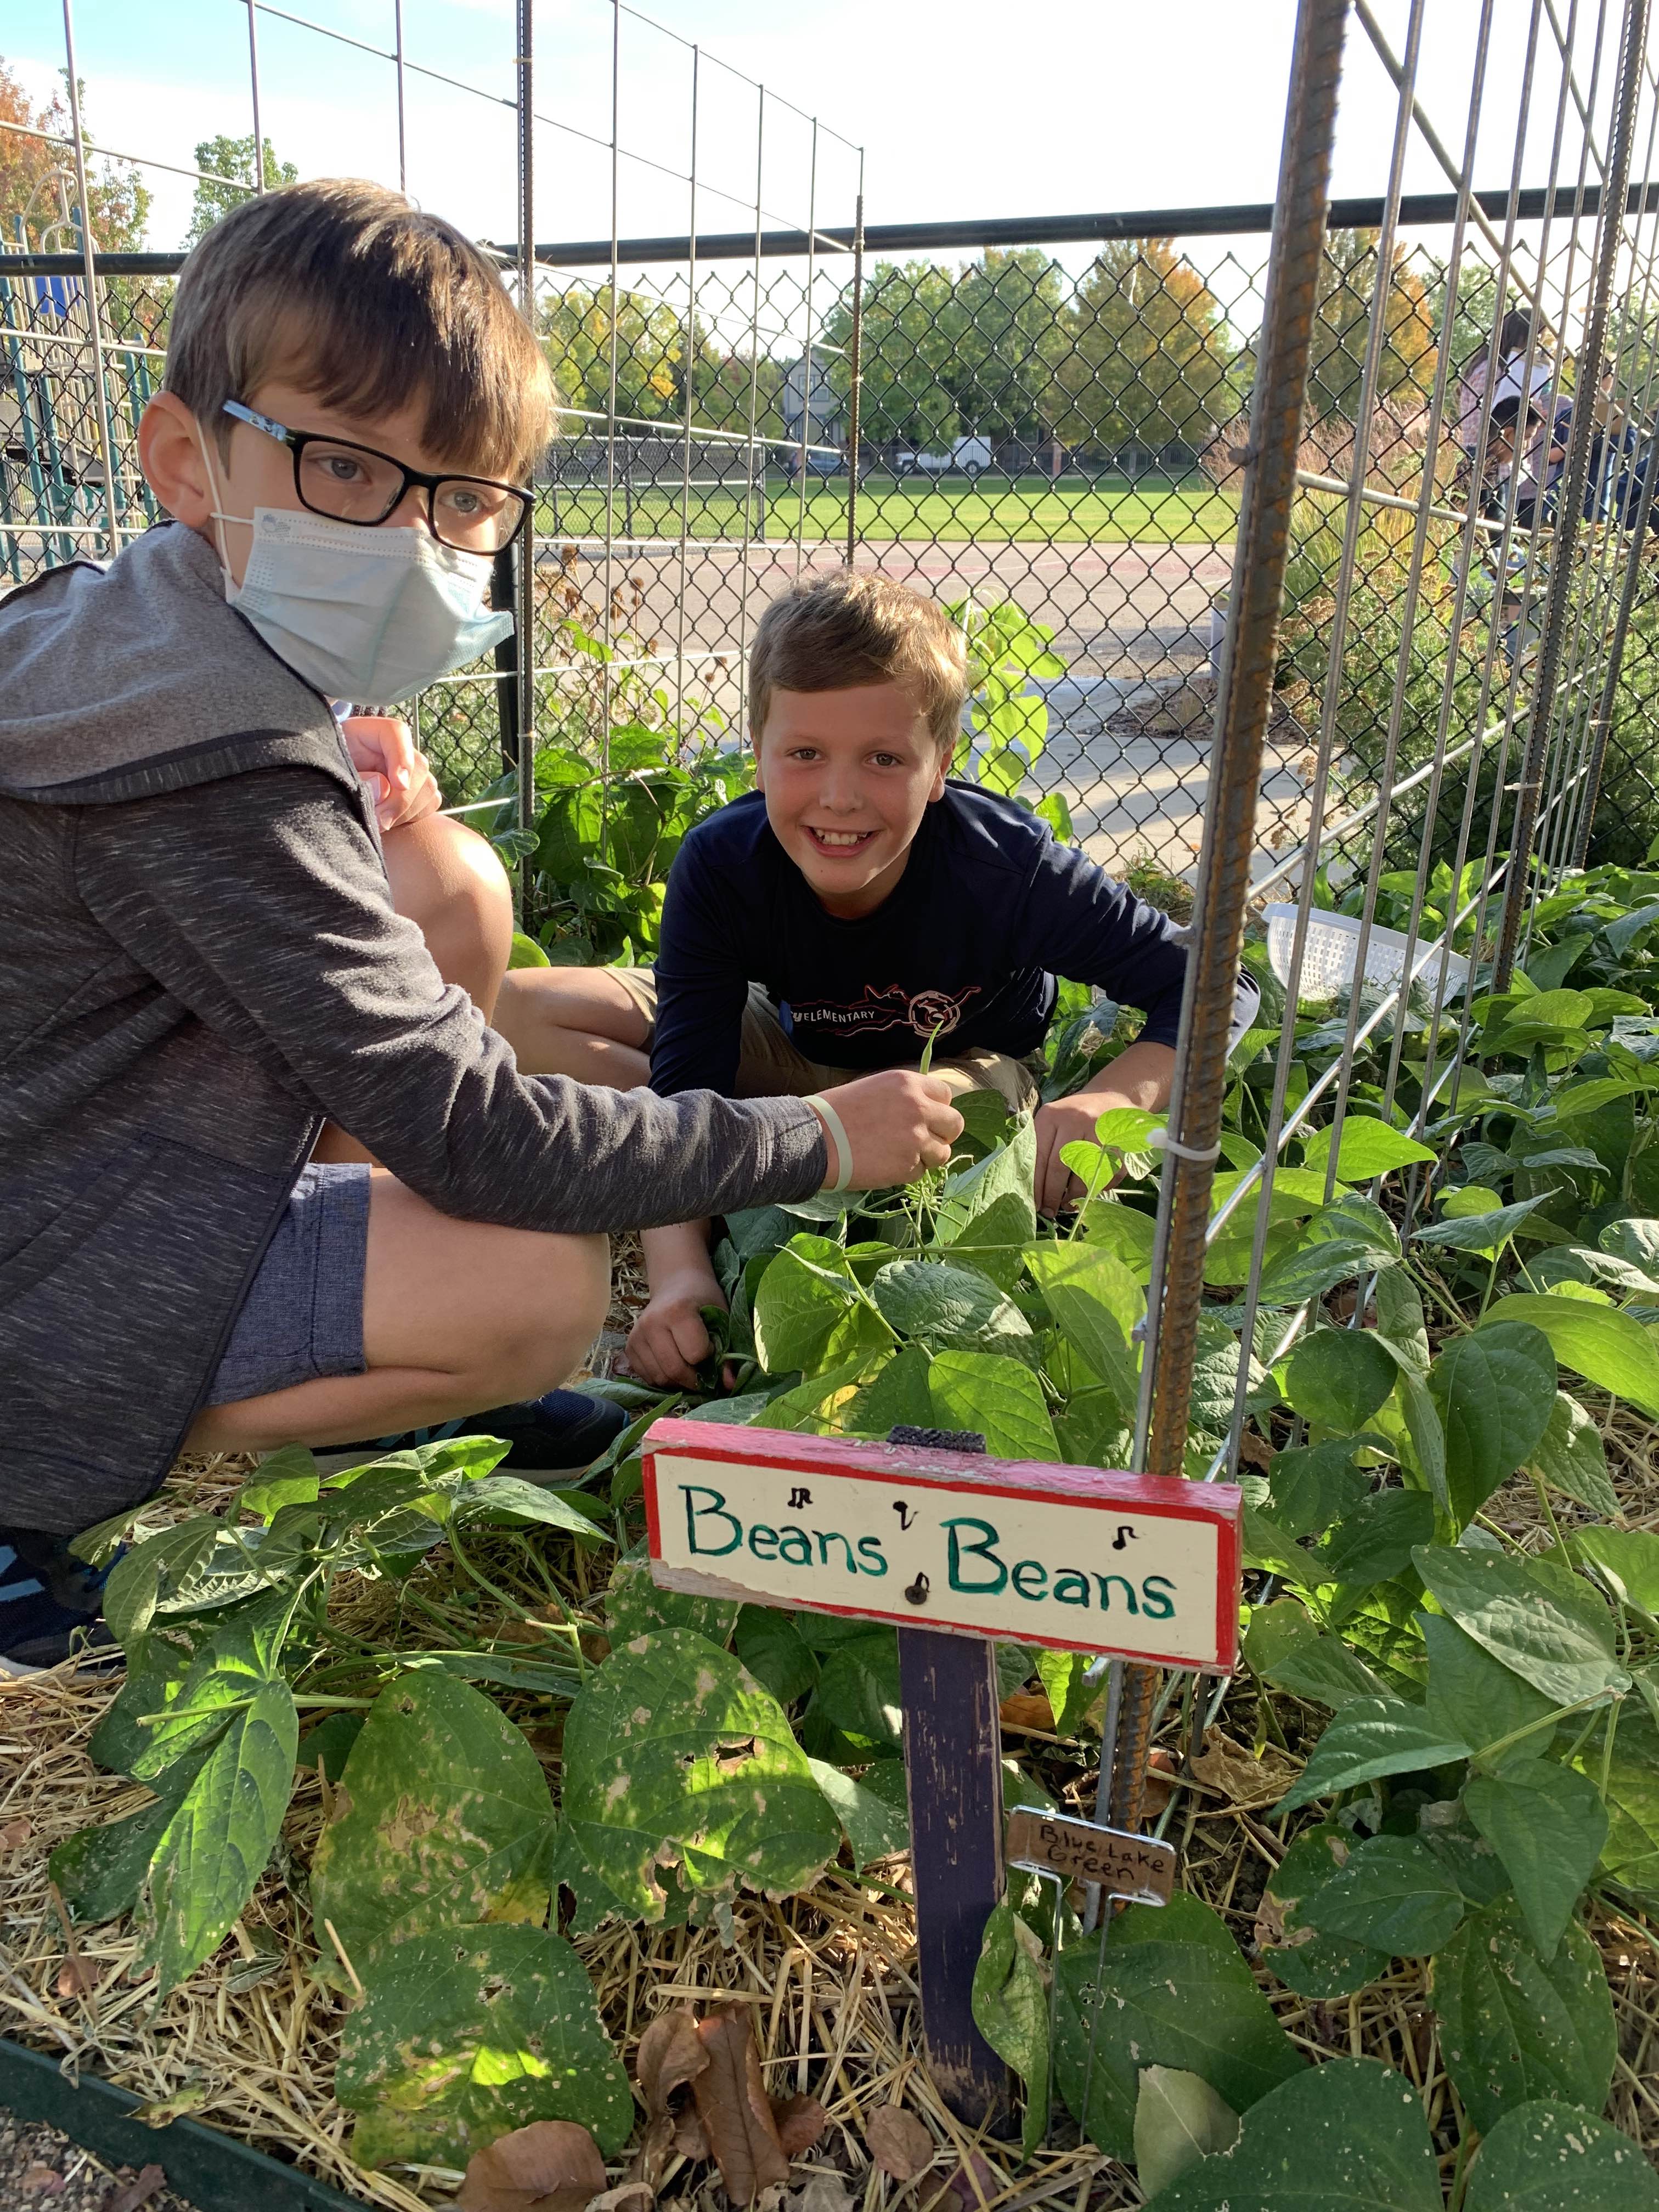
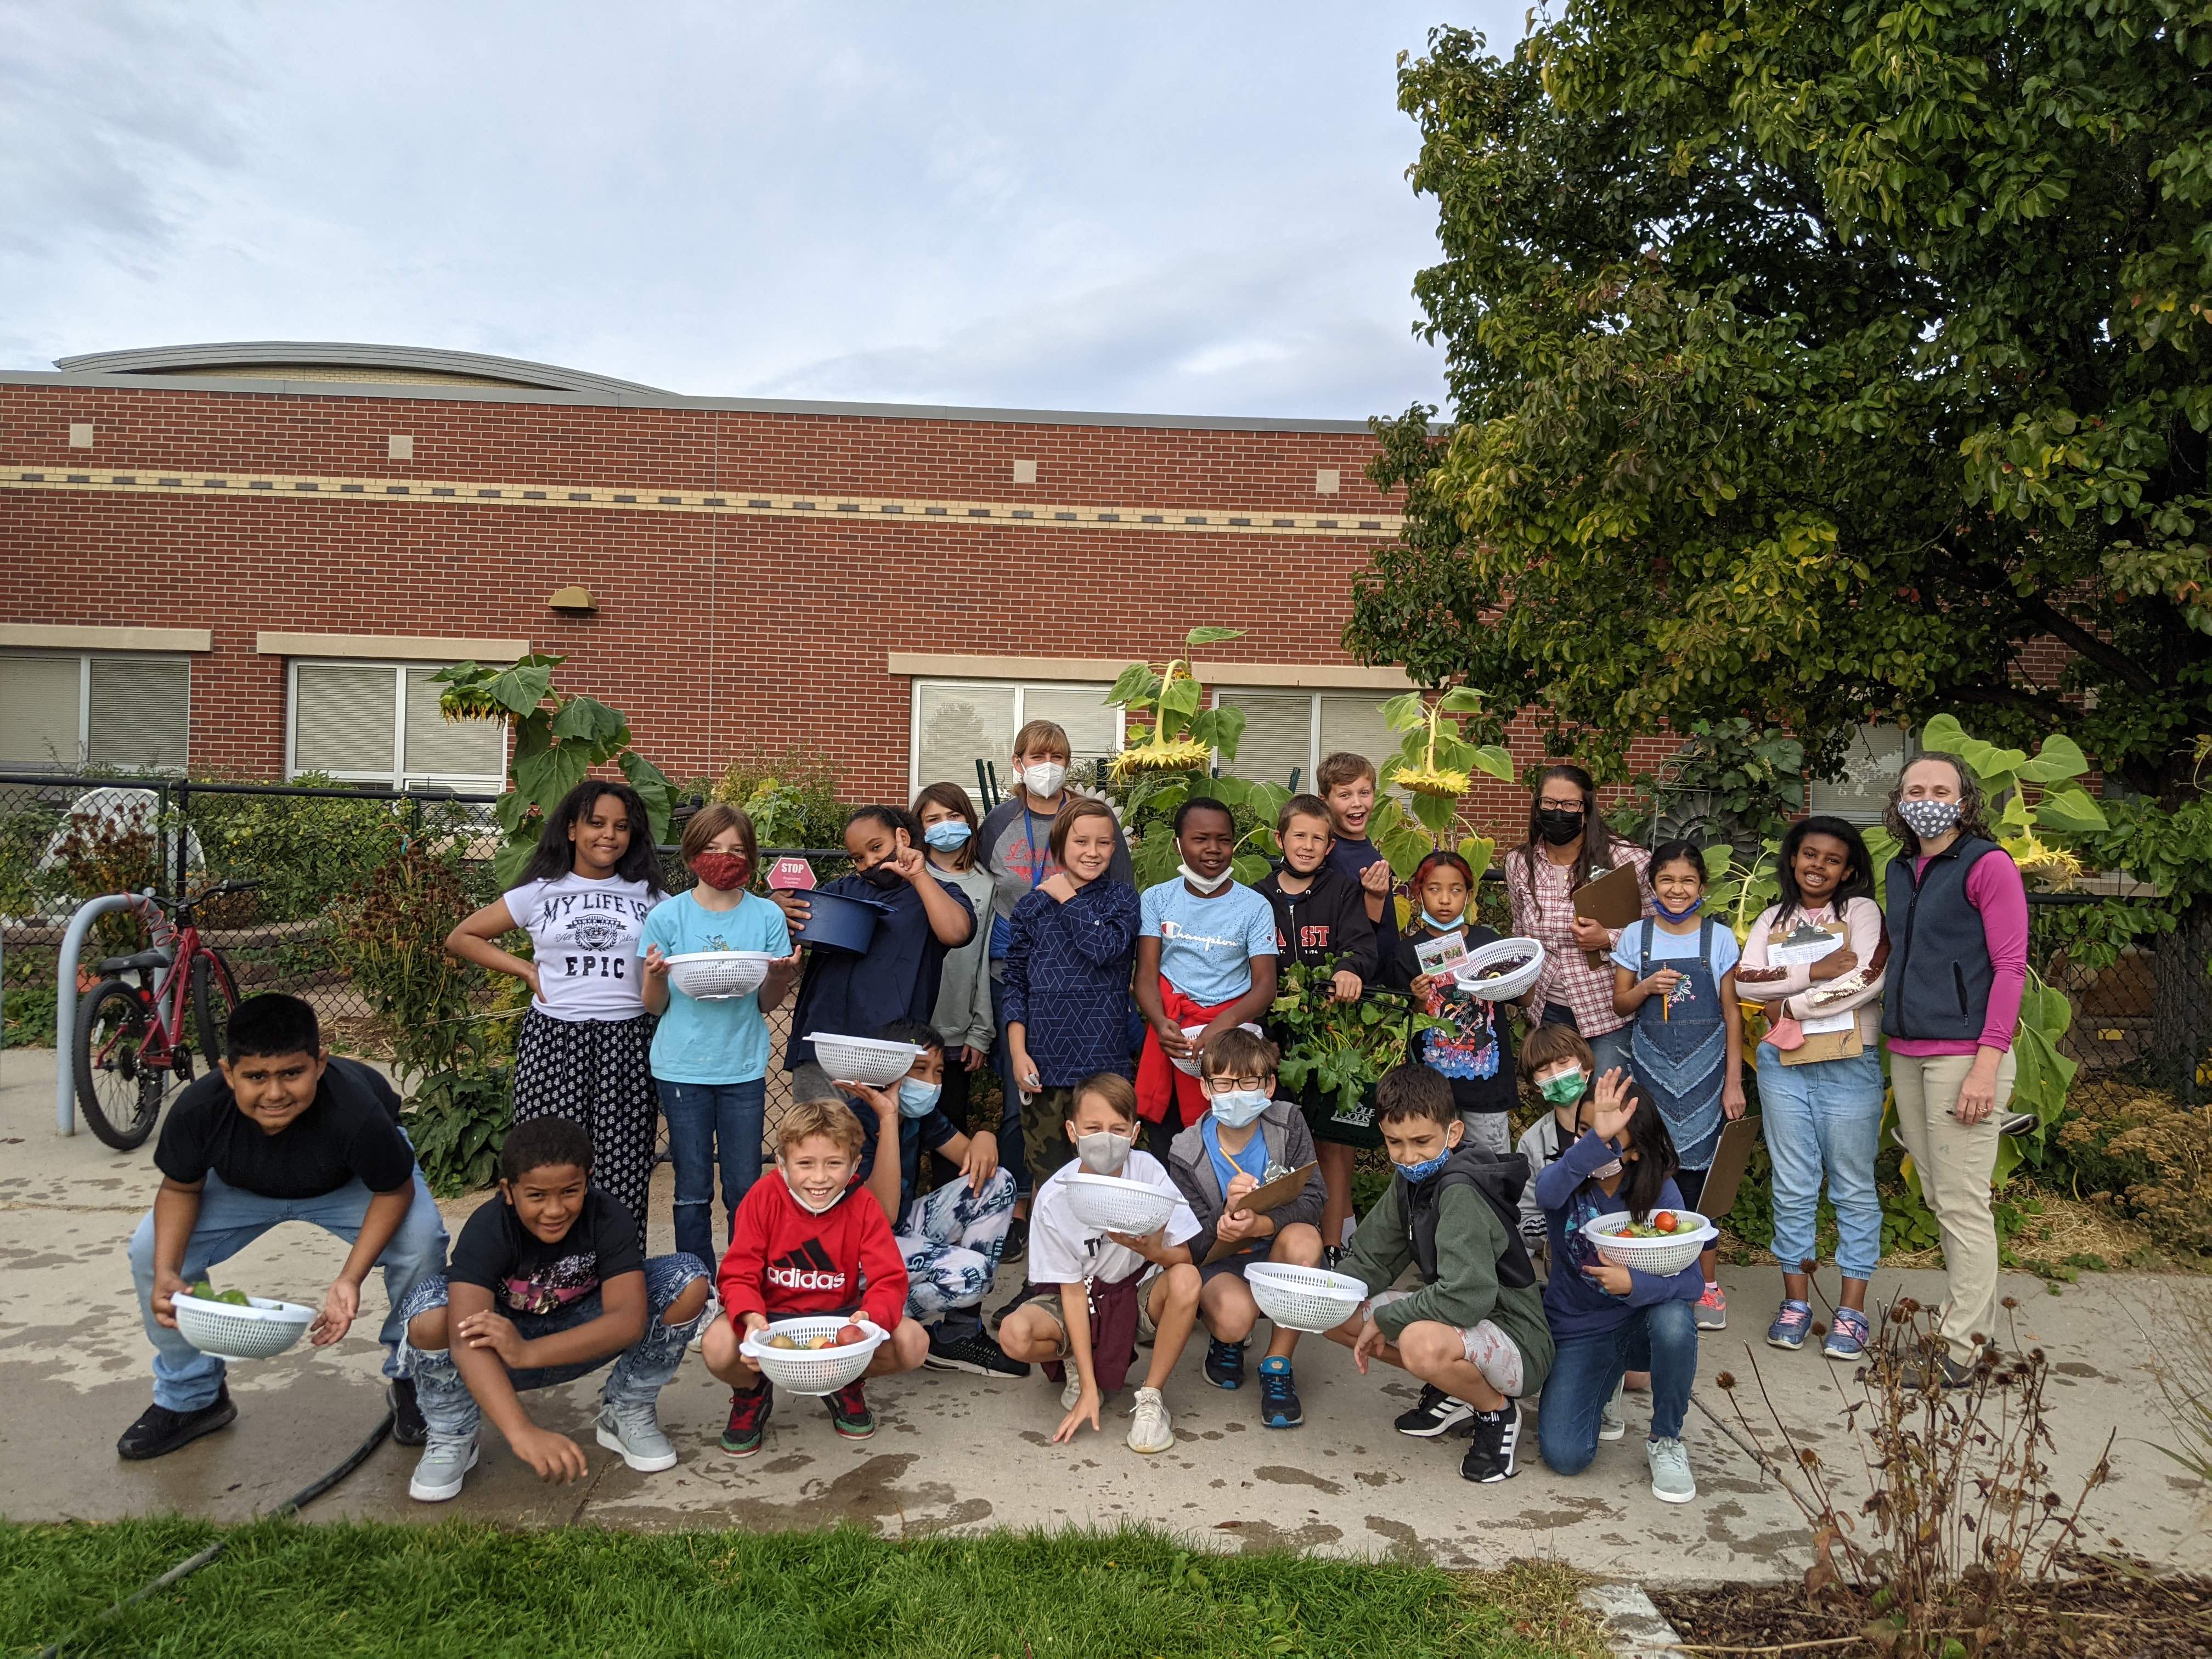
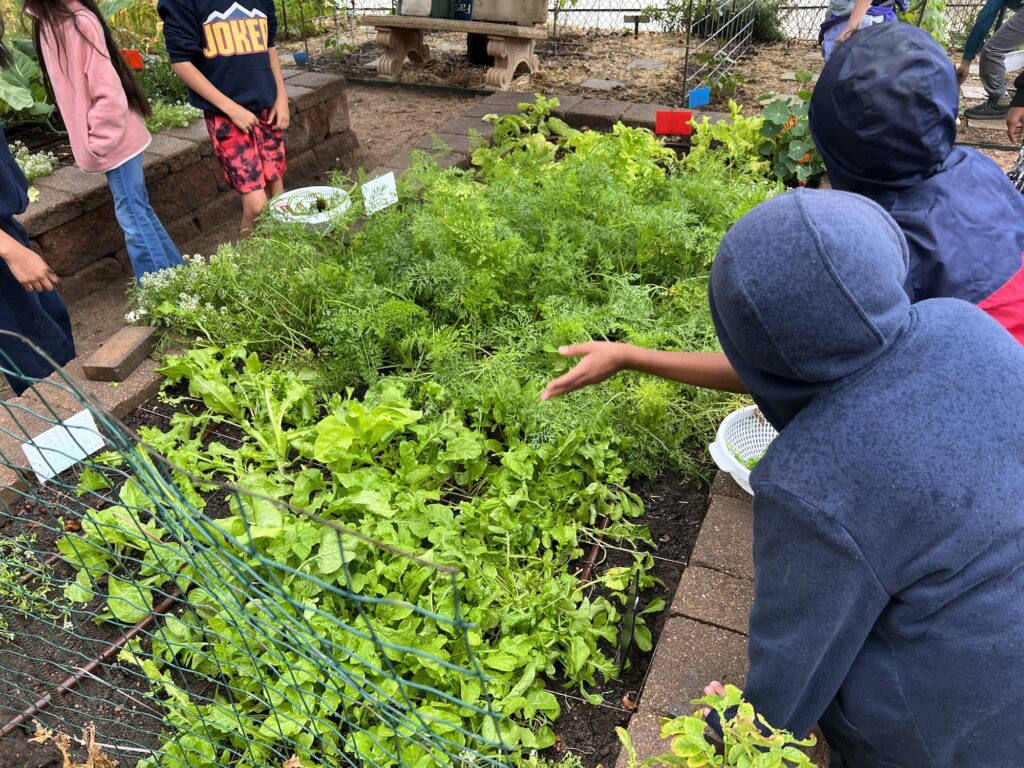
In September, harvest season is in full gear. We harvest in each garden twice a week. Prior to each harvest, I survey the garden to prioritize what needs to be harvested. Fruits like tomatoes, peppers, eggplant, squash, cucumber, and beans are always harvested when ripe to encourage continued production. “One and done” items like carrots and beets as well as greens can be saved for days when there isn’t a lot of other items to harvest, particularly in the later months.
Both schools that I work at operate Farmers Markets one day a week in September and early October. At one school, all of the produce sold is harvested from the garden. At the other school, produce is procured from an area farm.
October
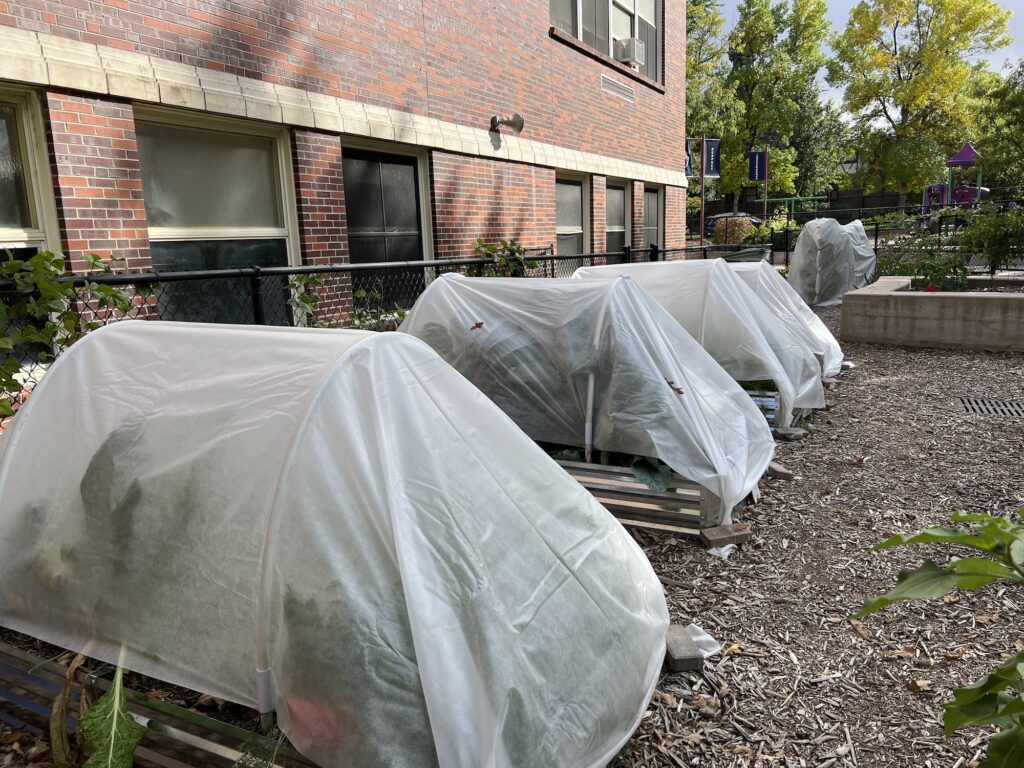
Harvesting continues throughout the month of October with the harvest becoming more and more focused on cool season produce. Typically in the first week of October, I will put up the frost blankets to cover the cool season produce. This helps to protect it from cold snaps and ensure we will have items to harvest into November.
Once the first frost occurs, the warm season plants die and garden clean-up begins. Warm season beds are cleaned out of all dead plant material and cover crop is planted in its place. The water is typically shut off to the gardens in early to mid-October and everything must be hand watered for the rest of the season.
November
With the use of frost blankets, the cool season produce stays growing through mid-November and we continue harvesting. Harvesting at a rate of two classrooms per week, this extended harvest time allows every classroom in the school to participate in a harvest day. If we desired to, we could even extend this harvest longer. But it becomes more and more difficult to organize an entire classroom to harvest when you’re working around snow and cold temperatures. This past year, our temperatures dropped to 14°F on October 30. Through a combination of two layers of frost blankets (one laid directly on top of the plants the second over the hoop frames) and a final layer of clear plastic, the plants all survived this cold. Once all classrooms have harvested, the remaining beds are cleaned out, and garlic and cover crop is planted. I continue to water the cover crop on a weekly basis as long as the temperatures are above 45°F and there is no snow on the ground.
December

December tends to be the only down month in the school garden. By this time of year, I am ready for a break and the only activity in the garden is the occasional cover crop watering. Otherwise, the gardens (and myself) take a much needed break through the next several months.